Multiple users are only available on Multi and Business plans, and only Master or Owner roles can manage users. If you don’t see the "Teams" option, you may need to upgrade your subscription or contact a Master/Owner for access. If you'd like to upgrade your subscription, please contact our Sales Team for guidance.
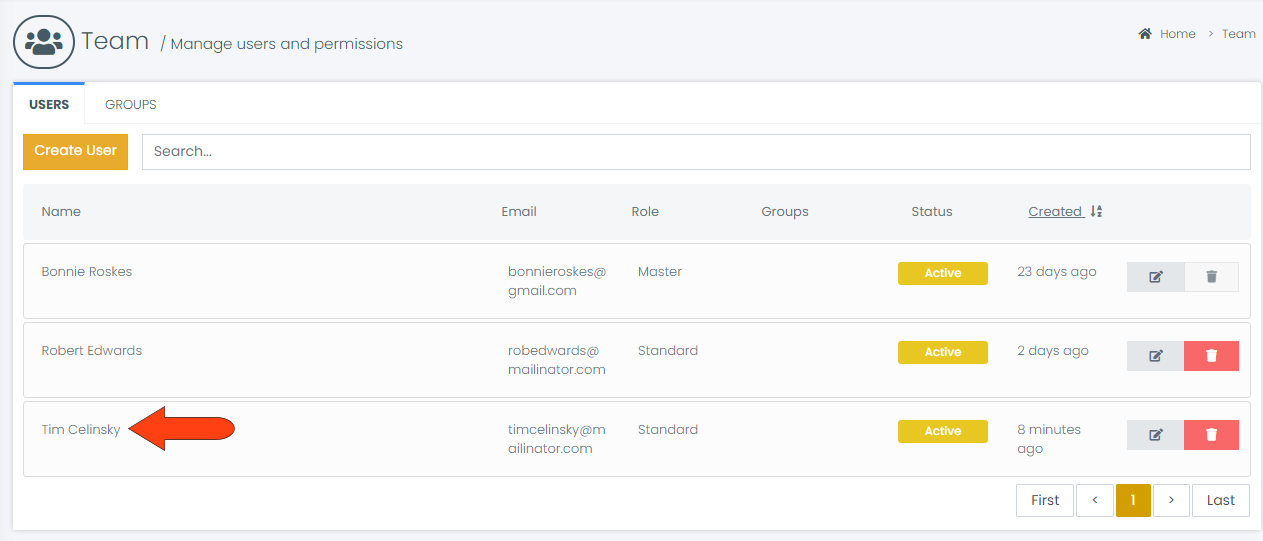
To get started, log in to FileInvite and click Settings > Team

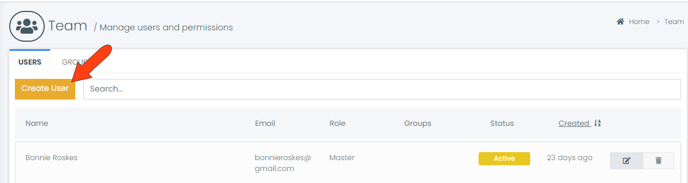
Click Create User at the top of the Team page to add a user to your team:
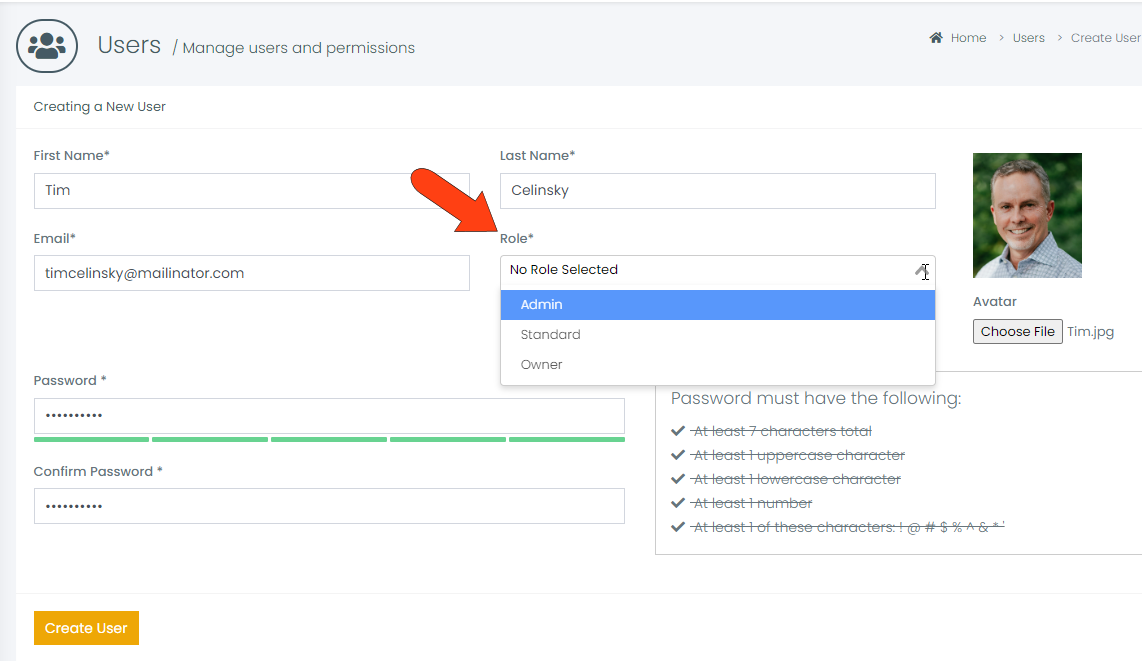
In the Creating a New User page, enter the user’s first name, last name, and email address. To add a profile image, click Choose File under Avatar and upload a headshot or avatar image. You must also assign and confirm a password that satisfies the familiar password requirements listed on the page. Each user must also have a Role.
Note: If you have SSO enabled, you'll see an SSO Identifier field. In most cases, this is the email address of the user, as per your SSO app.
There are four user roles:
-
Master: Has access to all data and features. There is only one master per account, but this role can be assigned to a different user.
-
Owner: Has access to all Invites, contacts, requests, templates, Team, and Statistics. Does not have access to Plans & Billing, Branding, Team, or Widgets.
-
Admin: Has access to all Invites, contacts, templates, and files within their user group. Does not have access to Integrations or Team.
-
Standard: Has access to shared templates within their user group, but access to Invites, contacts, and files is limited only to those they are the owner of.
Note: Enterprise plan users have the ability to configure custom roles.
After clicking Create User, the new user will be added to the Team page.