Note: The Settings pages and options available to you depend on your account plan and user role. Master Users have access to all available settings; options for other user roles will vary. Master Users in Enterprise plans can set up custom roles to grant access to specific Settings pages.
Go to Settings / Branding along the left, and enable Custom Branding Settings. Upload a logo image and set a branding color.
Note: Logo images must be in JPG, PNG, or GIF format, with a maximum size of 300 KB and dimensions up to 250 x 250 pixels.
If you've uploaded a logo but it’s not appearing in your invites, please ensure it meets the requirements above.
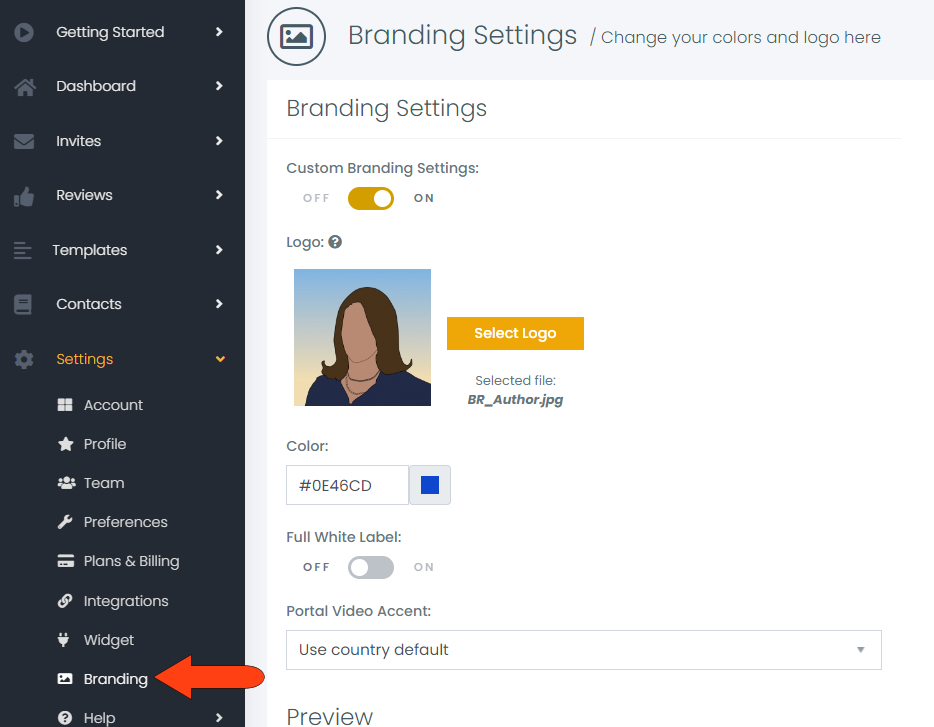
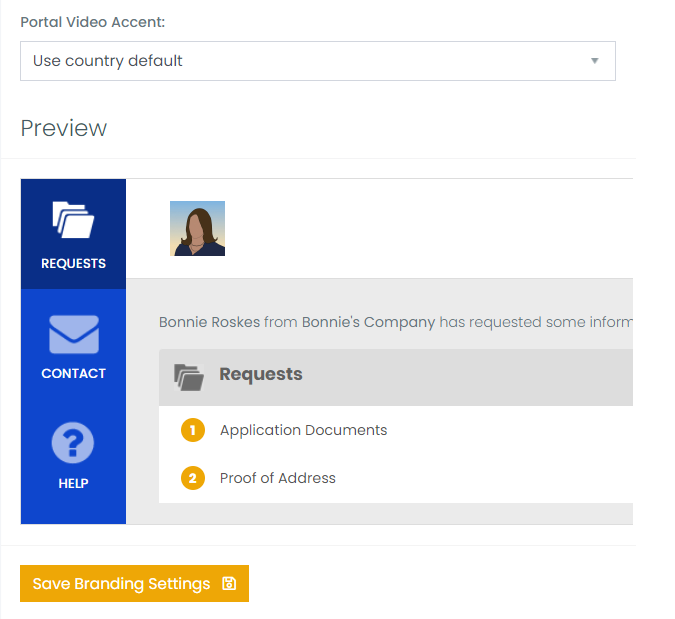
The Full White Label service is available on the Enterprise plan. Enabling this option will remove all references to the FileInvite brand from customer communications, including logos and links. For an additional charge, you can also create a custom domain for your Client Portal, and choose the English accent used in the Client Portal video. Check your branding settings in the Preview section, and when finished, click Save Branding Settings.
Note: When updating your branding, changes may take a few minutes to propagate across the system. If you don’t see the updates right away, try clearing your browser’s cache and cookies, then refresh the page.