All users with the Admin role will have access to all Invites, contacts, templates, and files within their group.
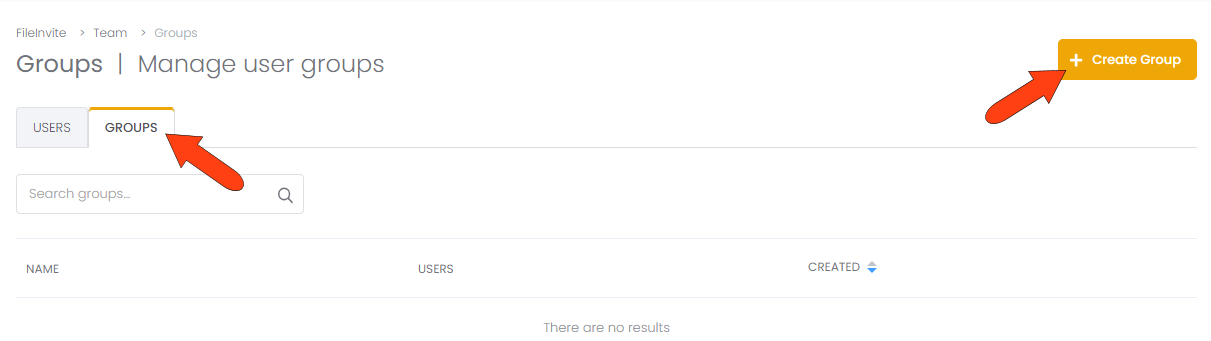
To create a group, open the Groups tab on the Team page, and click Create Group.
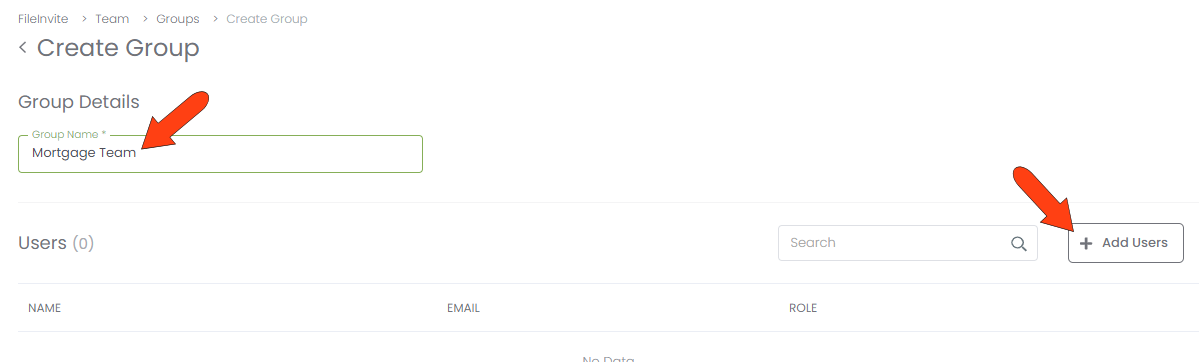
Assign a group name and click Add Users.
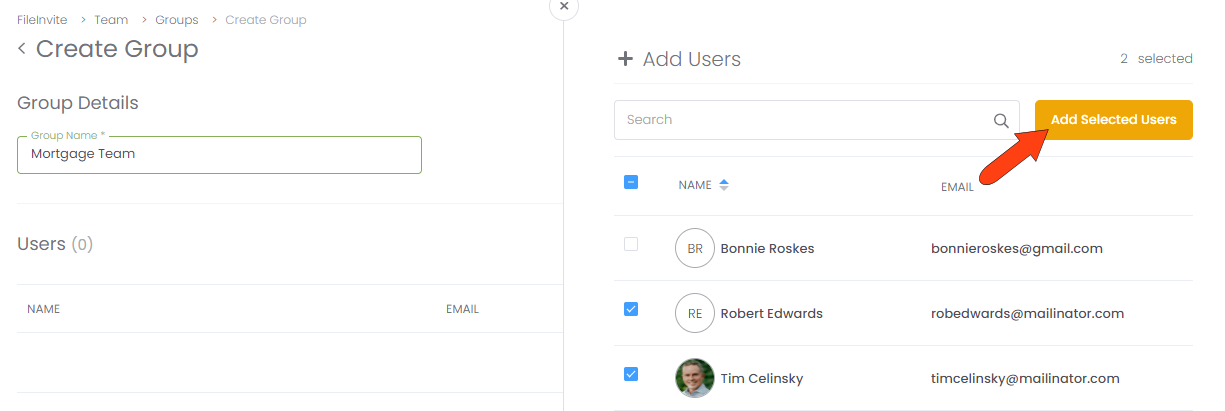
The list of users opens on the right. Choose the users to add to the group, click Add Selected Users
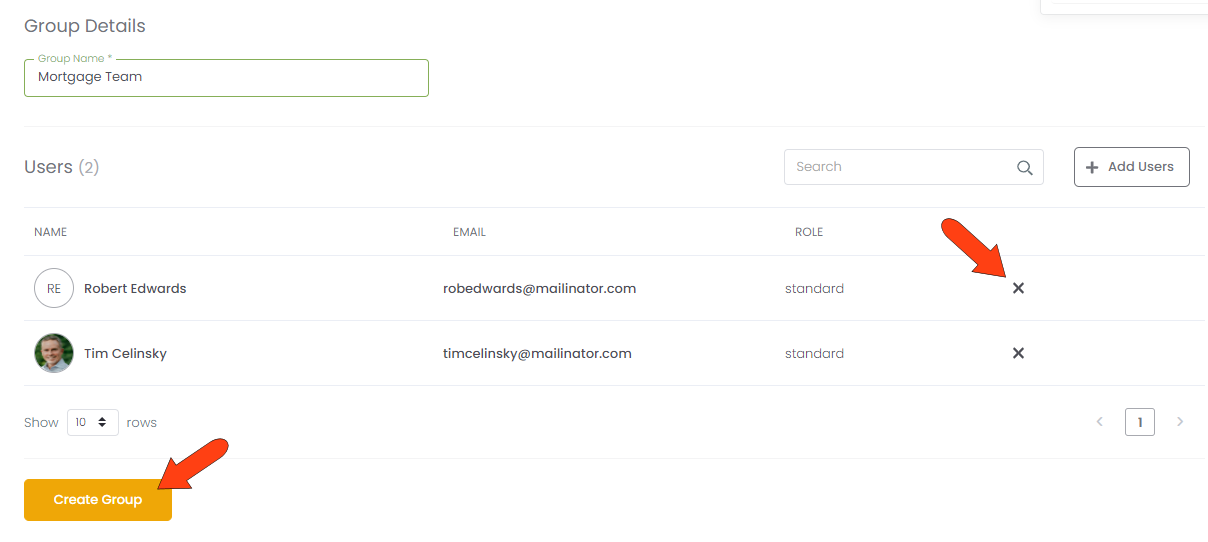
This returns you to the Group Details page, where all added users are listed. A user can be removed from the group by clicking their X icon. To finish, click Create Group.
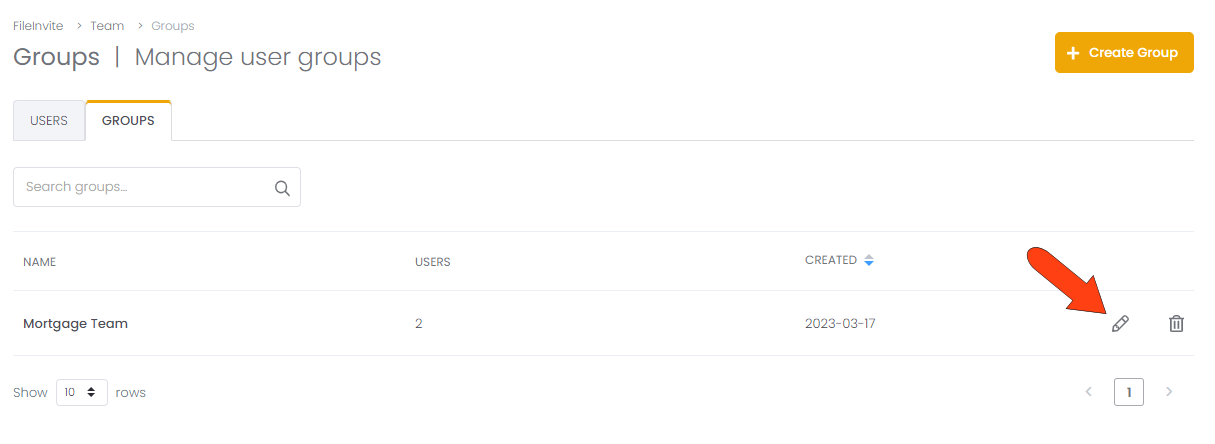
All created groups are listed on the Groups tab, where they can be edited or deleted.
A user can be part of multiple groups; however, you’ll need to assign them to each group individually