Note: The Settings pages and options available to you depend on your account plan and user role. Master Users have access to all available settings; options for other user roles will vary. Master Users in Enterprise plans can set up custom roles to grant access to specific Settings pages.
Each person who contacts you via the widget is automatically added to your account as a contact, and they will automatically receive an Invite, based on a template, after a set number of days.
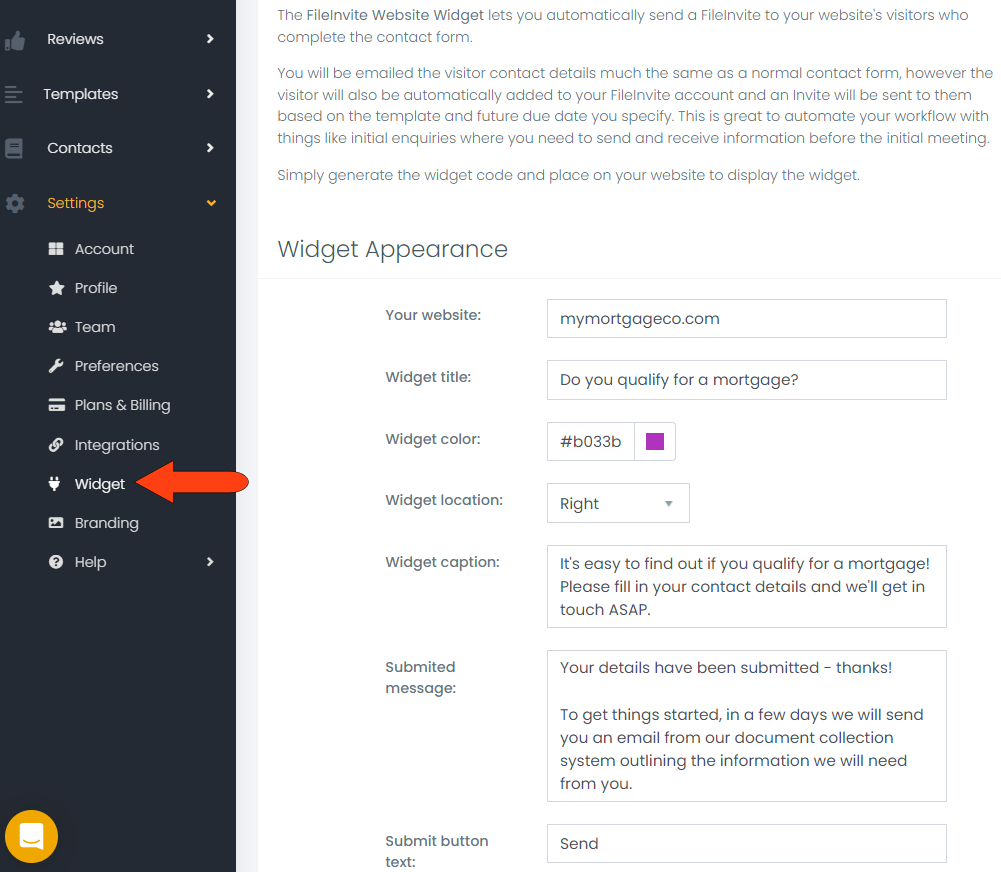
To set up your widget, go to Settings / Widget along the left. In the Widget Appearance section, enter your website, widget title and color, and location on the web page where the widget will be placed. Caption, submitted message, and button text are what the user will see after clicking the widget.
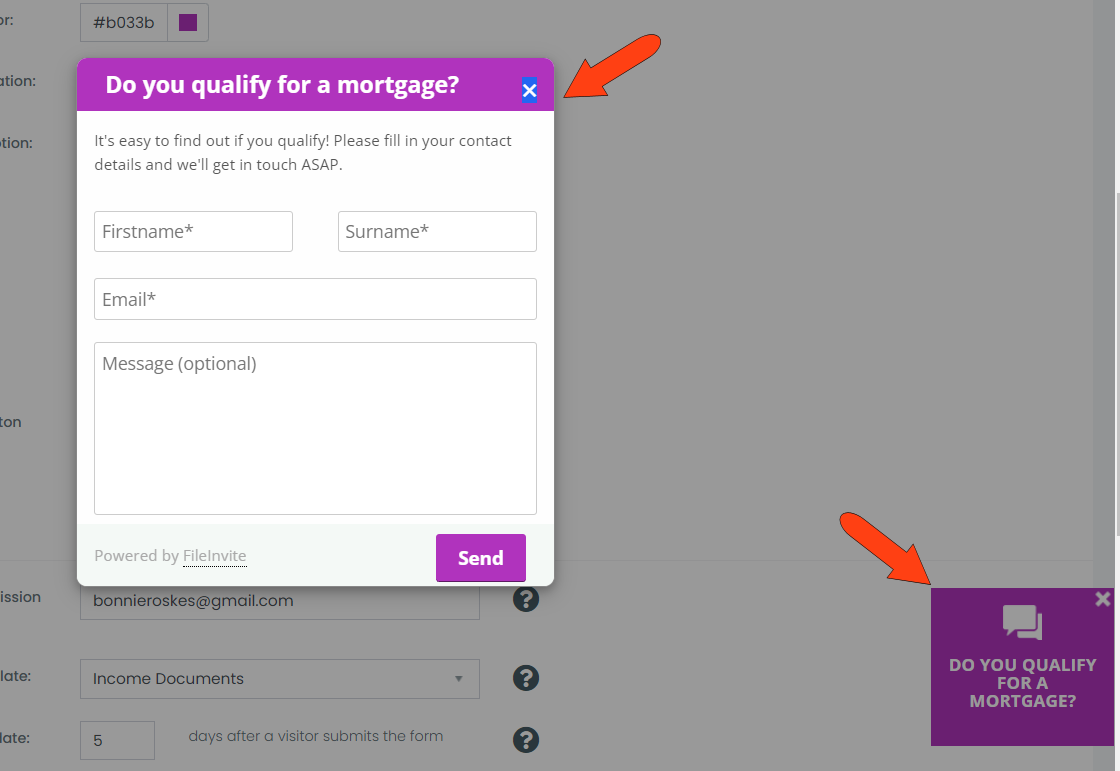
A preview of the widget is displayed on this page, and its caption and message appear when you click the widget.
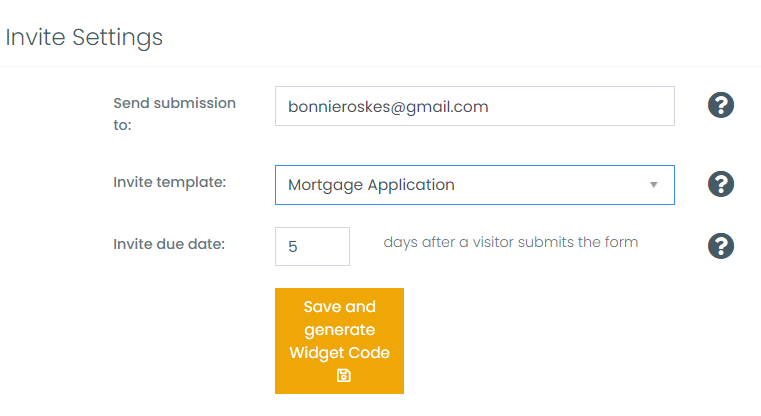
In the Invite Settings section, enter or confirm the email of the FileInvite user who will receive notification about each widget submission. Choose the template the widget users will receive as an Invite, and the number of days to wait before sending the Invite. When finished, click Save and generate widget code.
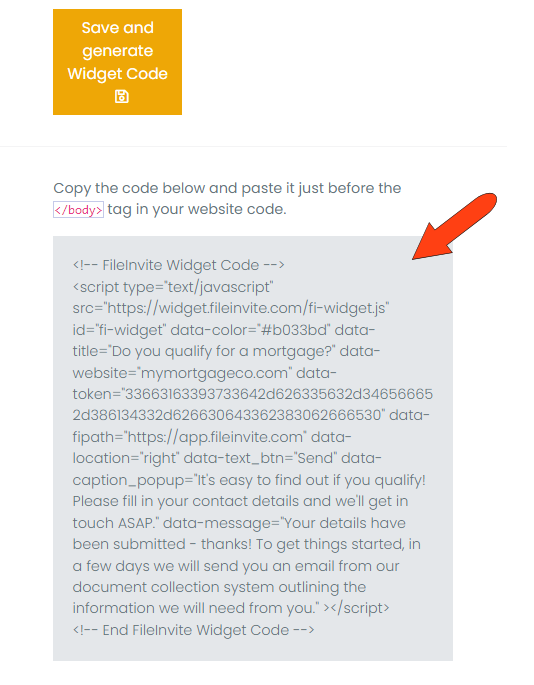
Once the code is generated, it can be copied from this page, and pasted in the HTML code of the website where the widget is to appear.