If you're having trouble with Templates, be sure to check out our Template Troubleshooting Guide for step-by-step solutions and helpful tips.
To create a template from scratch, click Templates along the left, then click Create Template.
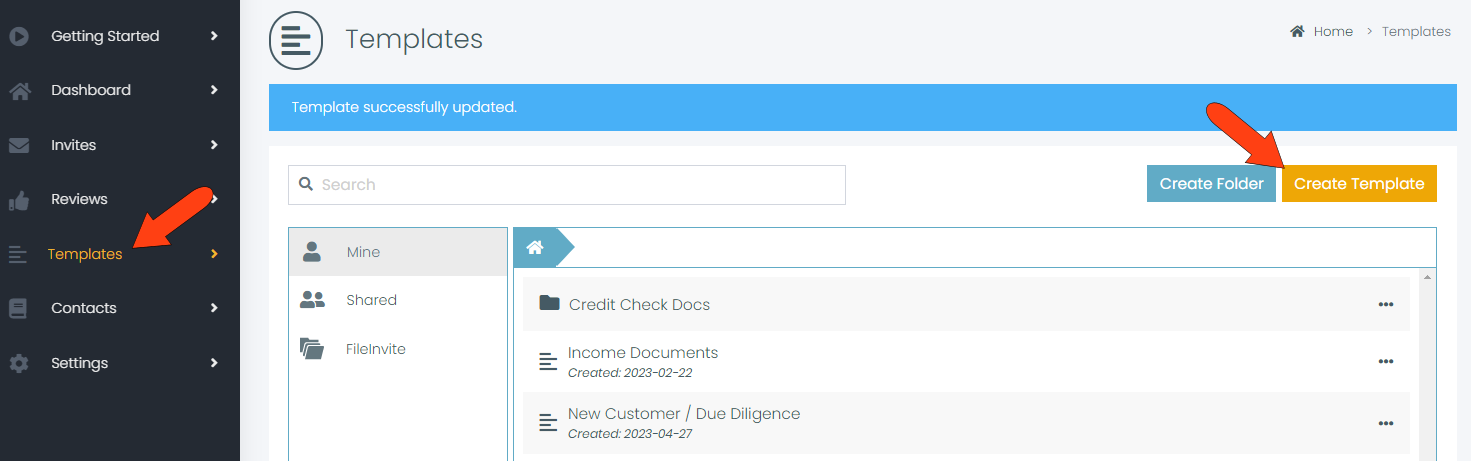
At the top of the template details page, enter the template name, and choose whether to place it in the default Mine folder or in a subfolder. You can also choose whether to share the template with team members.

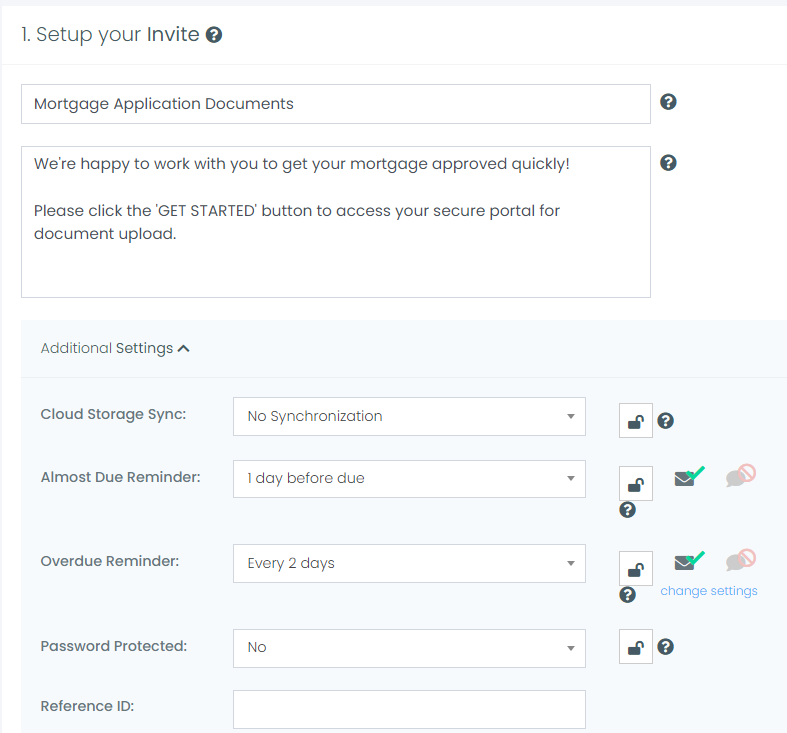
Below this, the first section is 1. Setup your Invite. The field at the top will be the subject of the email, and will identify the Invite in the Invites list. In the second field, enter the email text for the contact, explaining what they need to do to get started.
The Additional Settings section within a template allows you to configure options such as:
-
Cloud Storage Sync
-
Almost Due and Overdue Reminder frequency
-
Password Protection
-
Reference ID
Any invite you create from that template will automatically inherit these settings, saving you time and ensuring consistency.
For example, if you set Password Protection to “Yes” in the template, every invite generated from it will have password protection enabled by default.
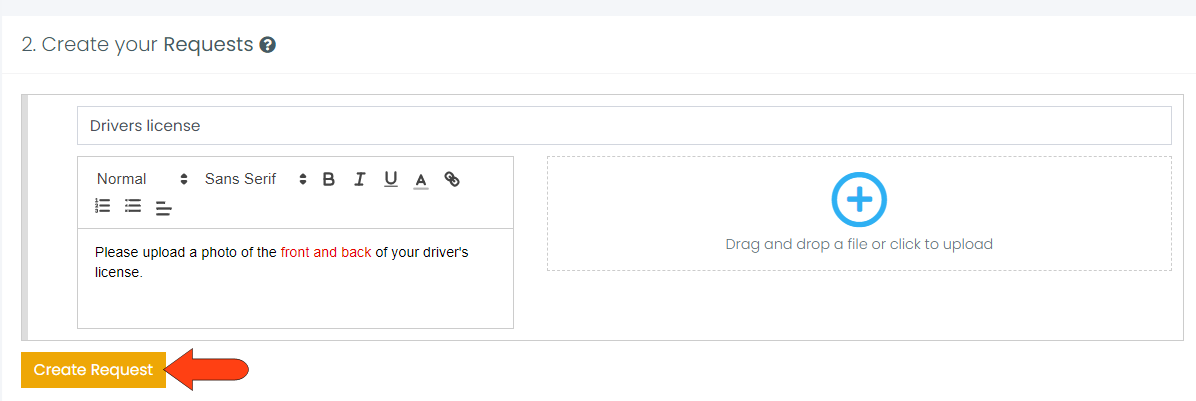
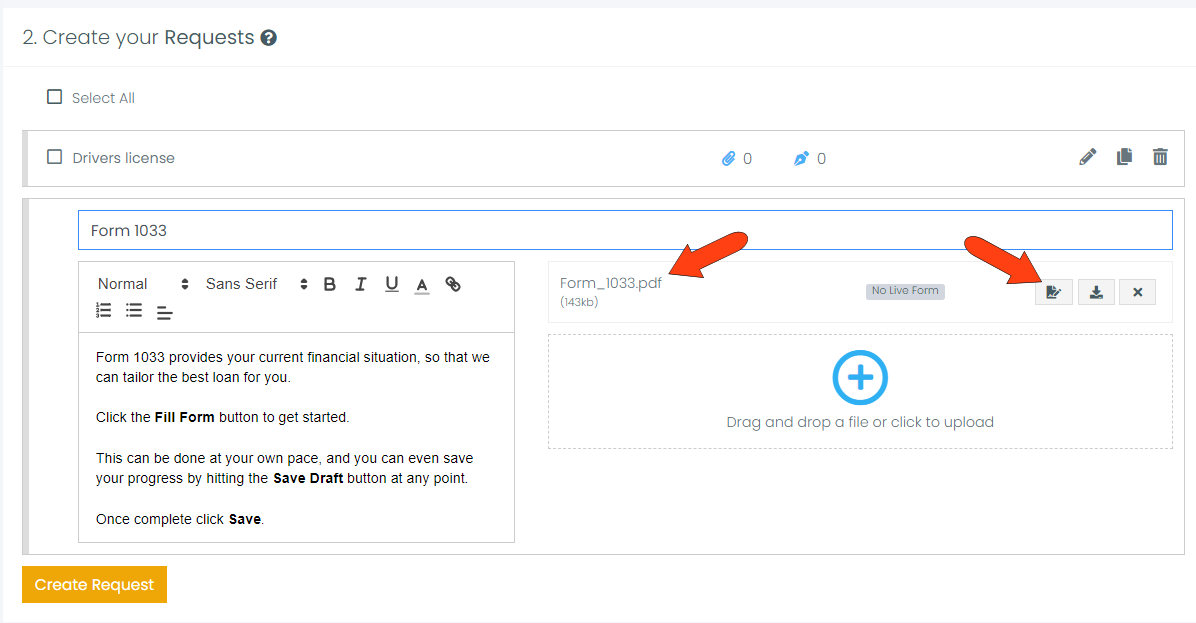
In the 2. Create your Requests section, and enter the first request name. Below the request name, include instructions or other information, and upload a file if needed. The instructions field has text formatting and hyperlink options available. Click Create Request when finished.
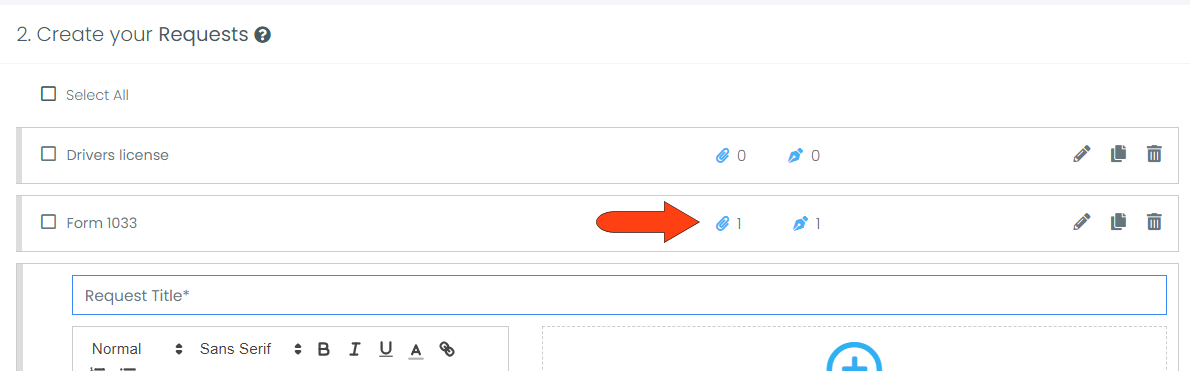
Once created, the request appears in the list, with the number of documents and signature requests, if any. Each request can be edited, copied, or deleted.
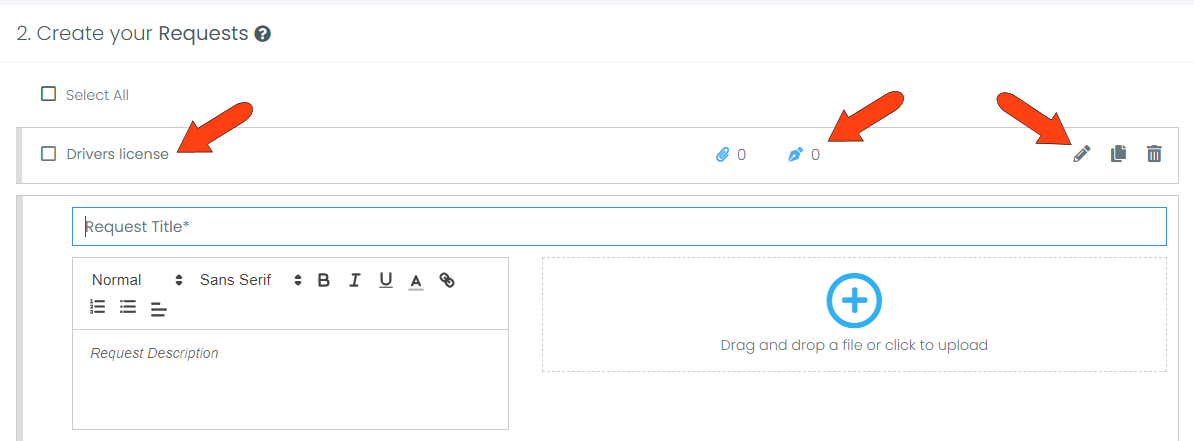
To proceed with the next request, enter its name and instructions. In this example, a form was uploaded, and by default the form is not live, meaning it cannot be filled out online. To make the form live, click the Fillable / Signable form icon.
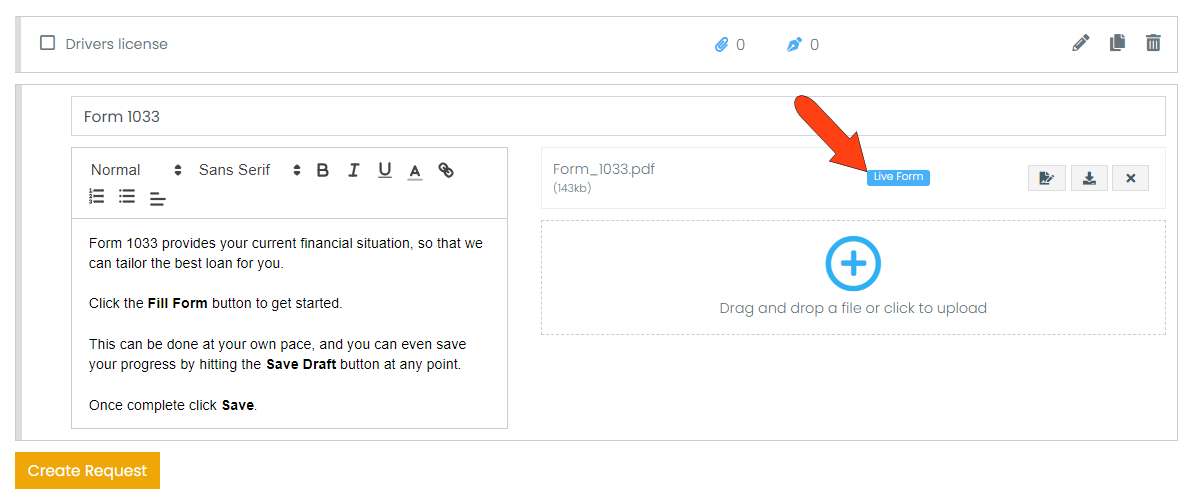
Once a form is live, the Live Form indicator is enabled.
In this example, the added request includes one form and one live signature request.
With the individual response feature now available, you have the option to enable it for each request. By default, this checkbox is checked when creating an Invite for every single request. However, you can choose to disable it if only one person needs to submit the information for the request to be considered returned by all contacts. This feature enhances flexibility in managing responses and streamlines the invitation creation process.
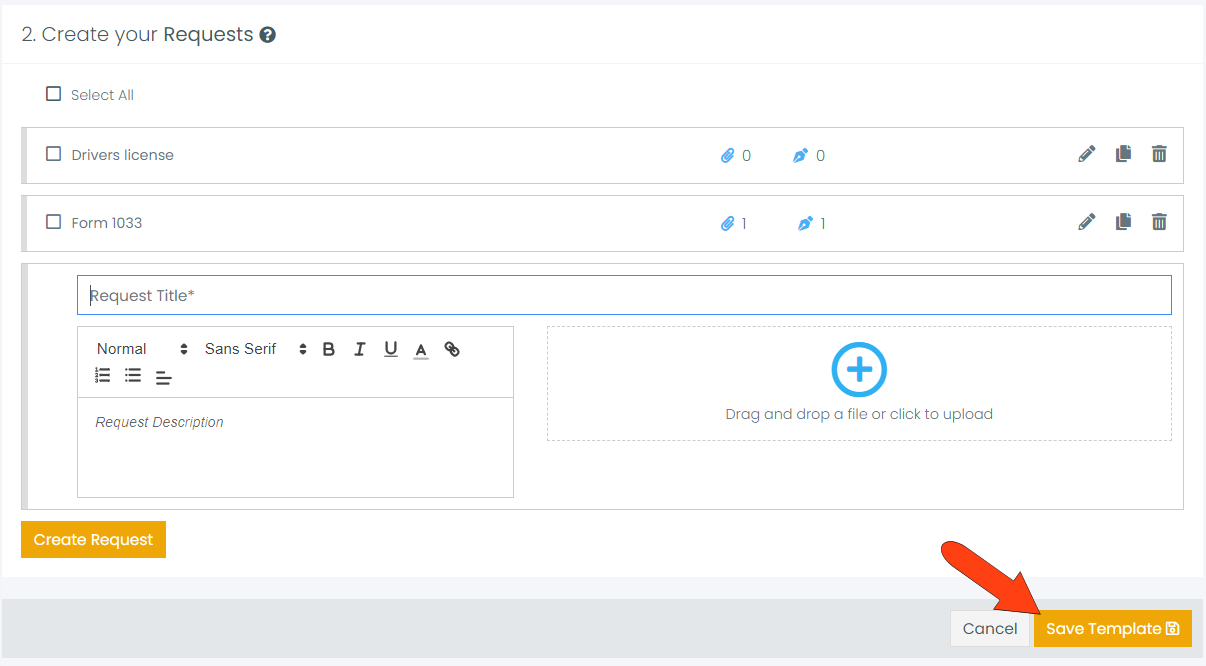
When all requests are completed, click Save Template at the bottom of the page.
The new template appears in the list, in the folder in which it was created.
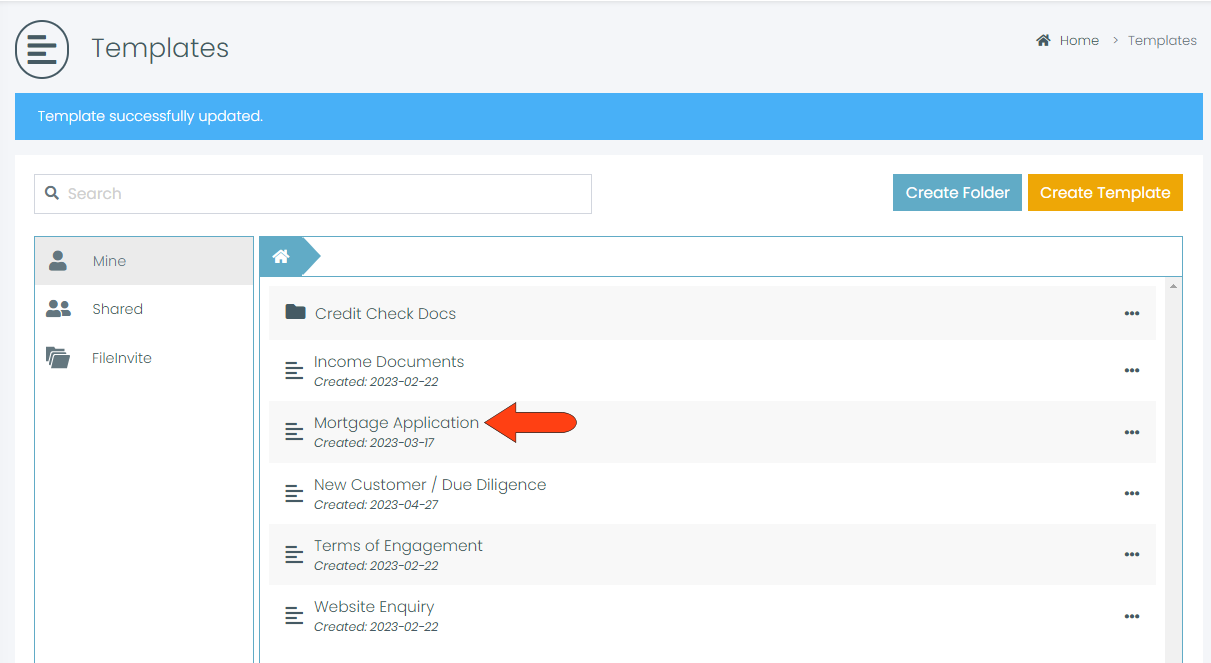
The template can now be used in an Invite, and can be moved to another folder if needed.