Creating custom roles is done in Settings / Team, on the Roles tab.
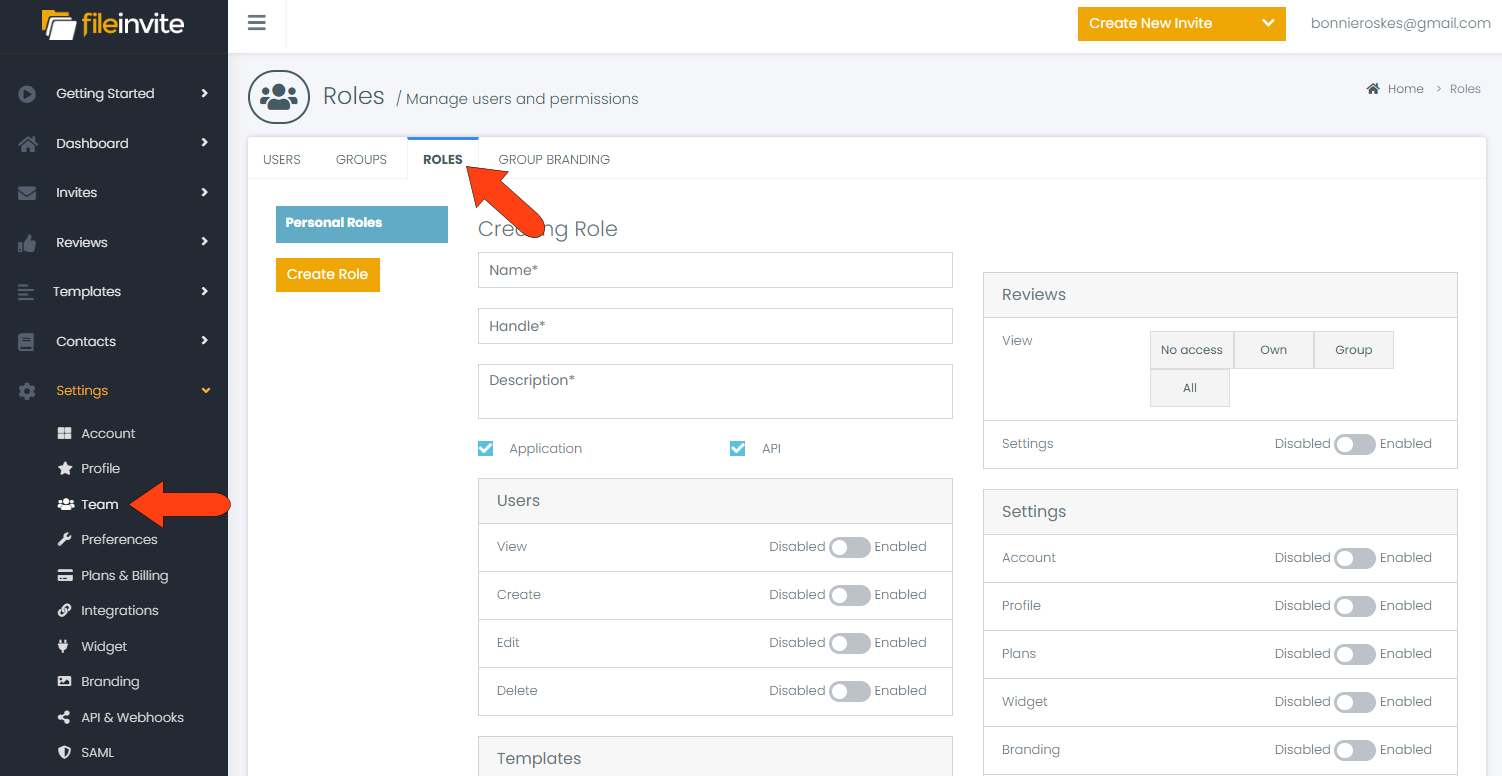
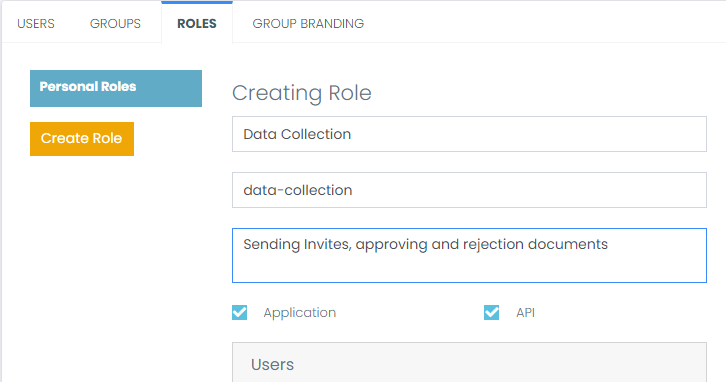
The first step is to assign a role name and description. In this example, users with this role can send Invites, create requests and contacts, and approve and reject files.
The rest of the many options on this page are grouped into categories. Some options can be enabled or disabled, and other options have several levels of permission.
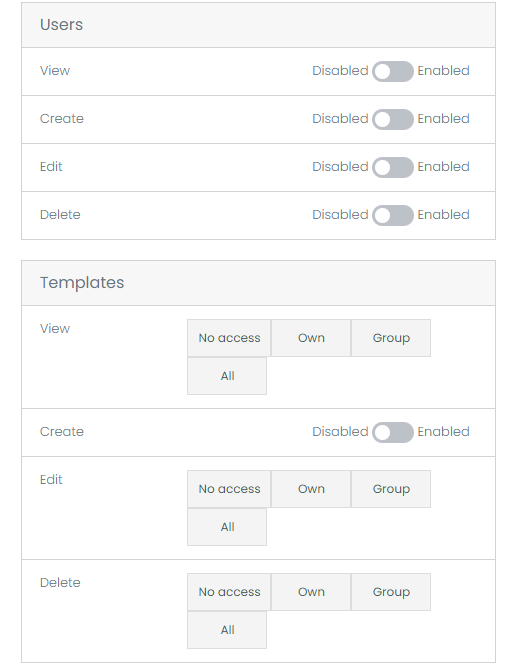
In this example, this role does not include any access to account users or templates.
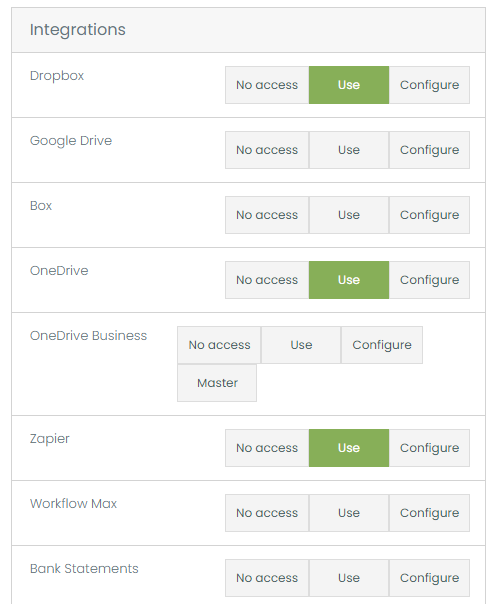
In the Integrations section, this role is allowed to access certain third-party applications, but not configure them.
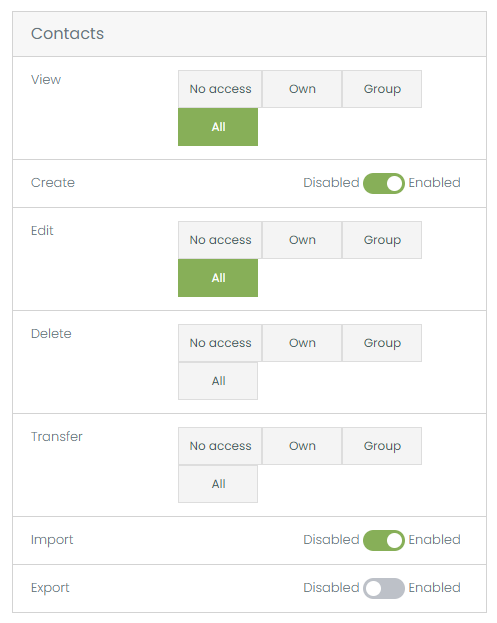
Users with this role can view, create, and edit contacts, but not delete or transfer. They can also import a contacts list.
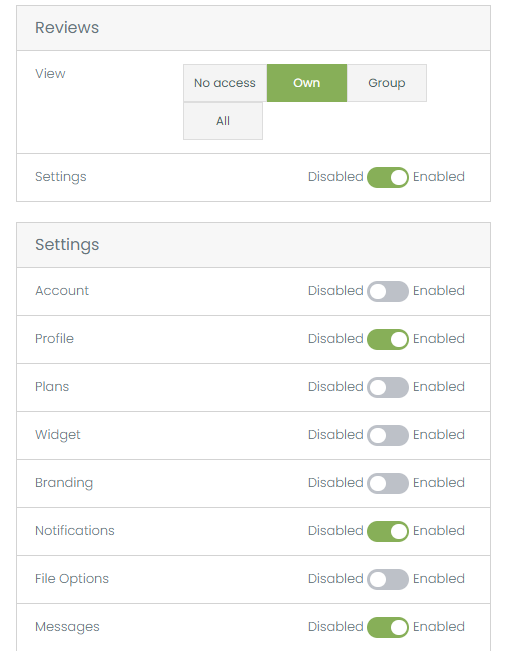
You can also decide whether to give these users access to the Settings, and within Settings you can enable or disable access to specific pages.
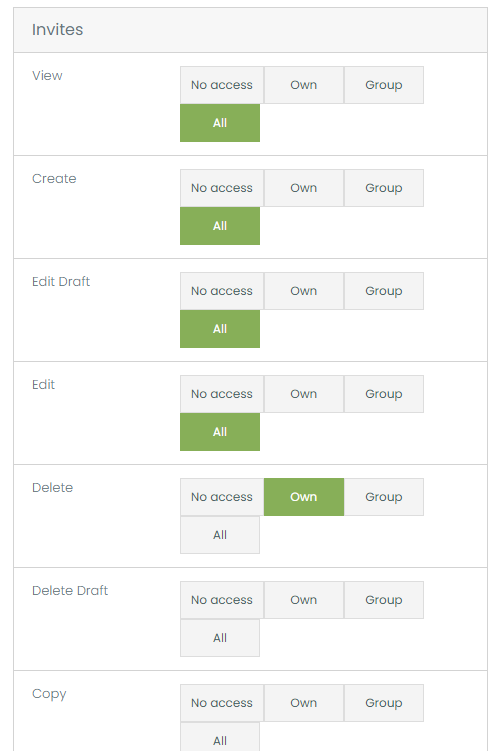
Another important permissions category is Invites. These users can view, create, and edit Invites, but only delete their own Invites.
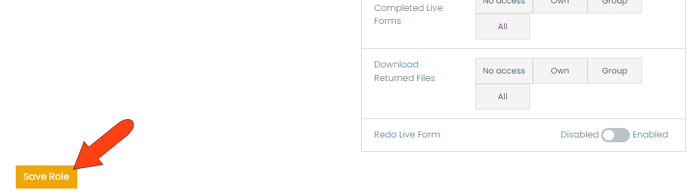
When all permissions are set, click Save Role.
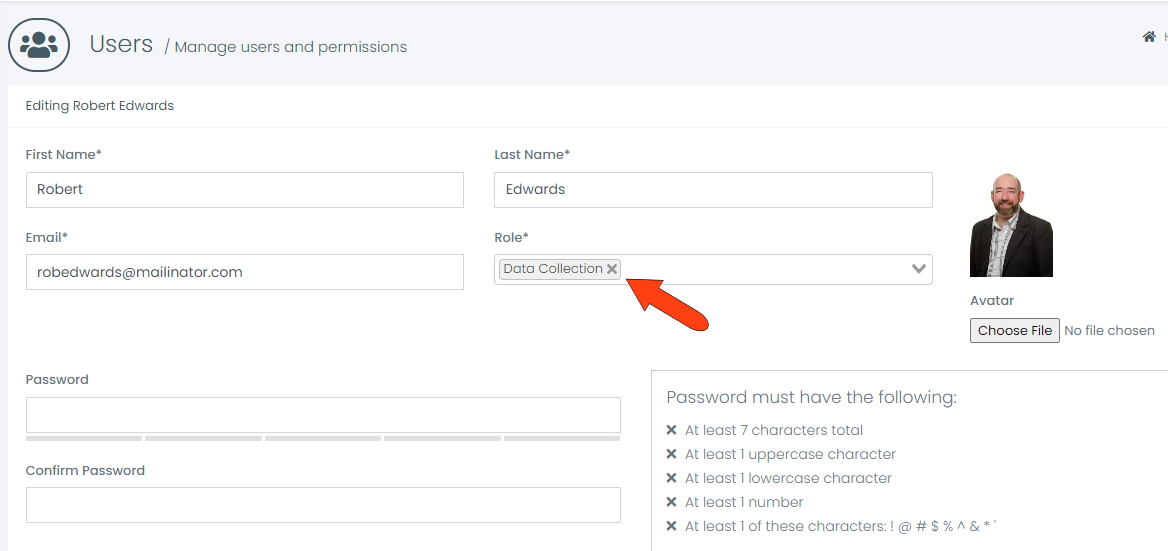
Now users with team permissions can assign this role to other users.
Important Notes
🔒 Available on Business Plans Only
Custom User Roles are only available to clients on our Business Subscription plans. Contact Sales if you'd like to upgrade.