This can be done while creating an Invite, or you can modify an Invite after it has been sent.
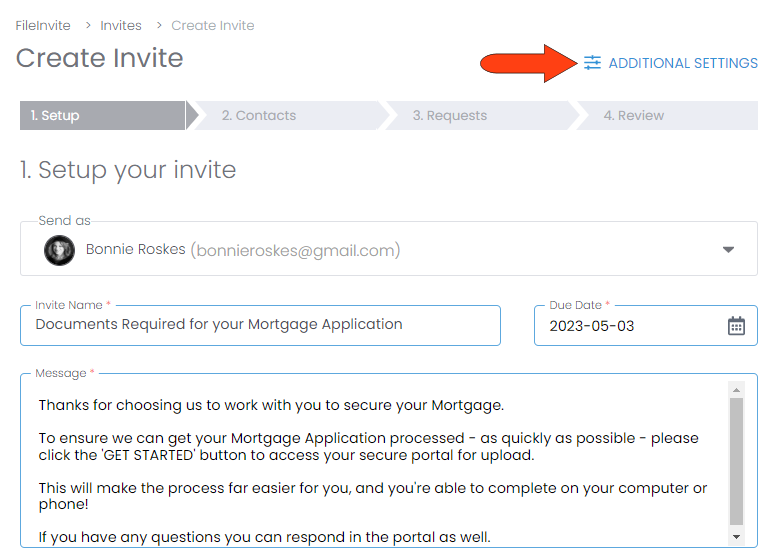
While creating an Invite, click the Additional Settings link at the top.
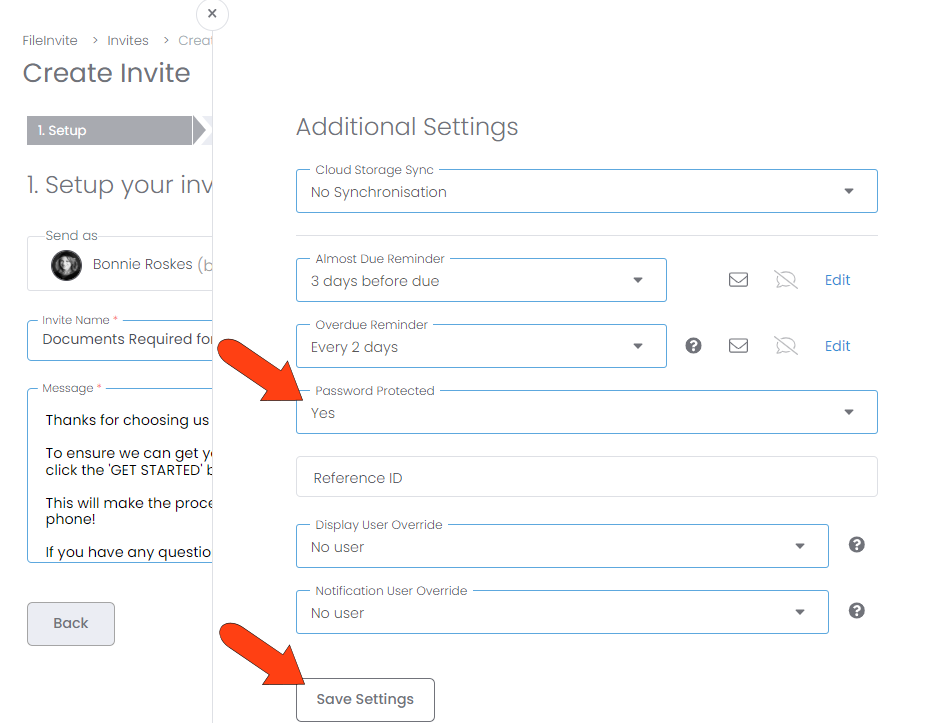
In the Additional Settings panel that opens, set Password Protected to Yes, and click Save Settings.
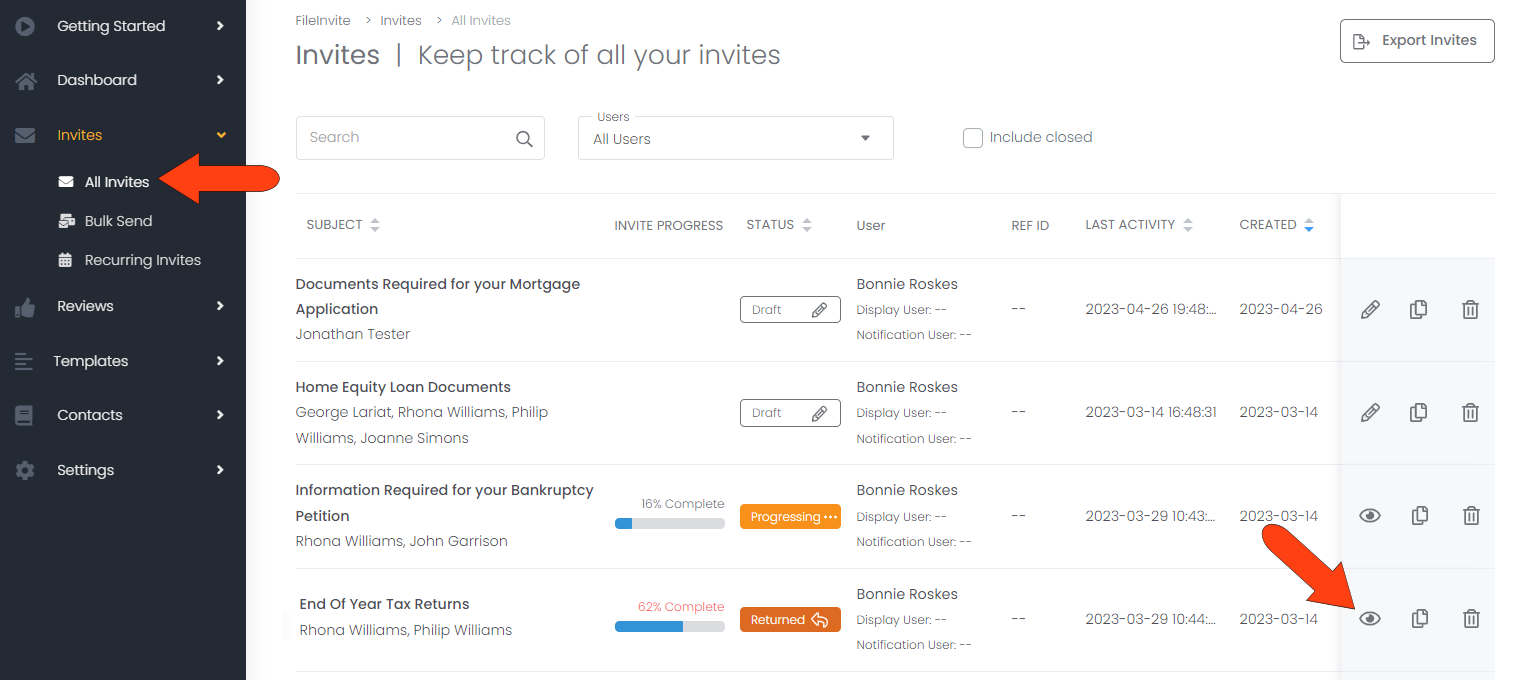
To modify a sent Invite to require a Client Portal password, start in your Invites list. Find the sent Invite you want, and click its View icon.
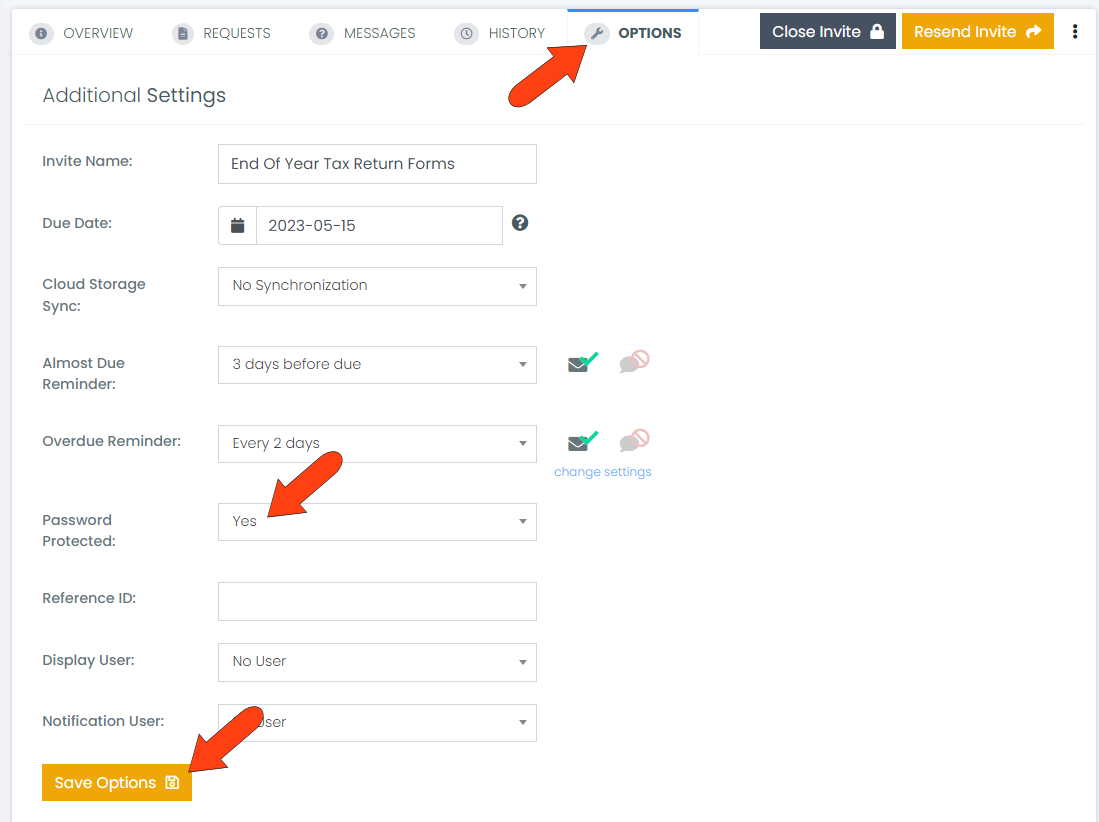
Open the Invite’s Options tab, set Password Protected to Yes, and click Save Options.
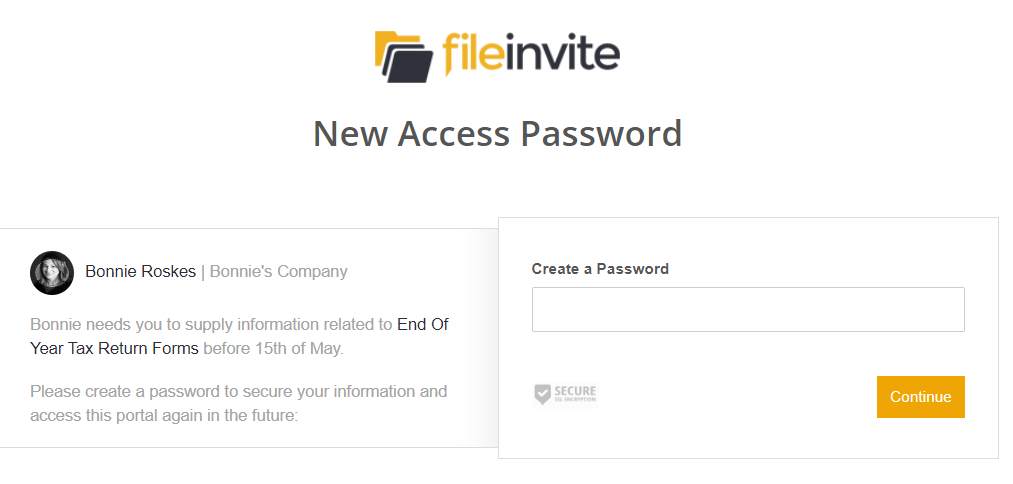
When a contact clicks the link to a password-protected Client Portal, they will be asked to create their password.