If you're having trouble with Invites, be sure to check out our Invite Troubleshooting Guide for step-by-step solutions and helpful tips.
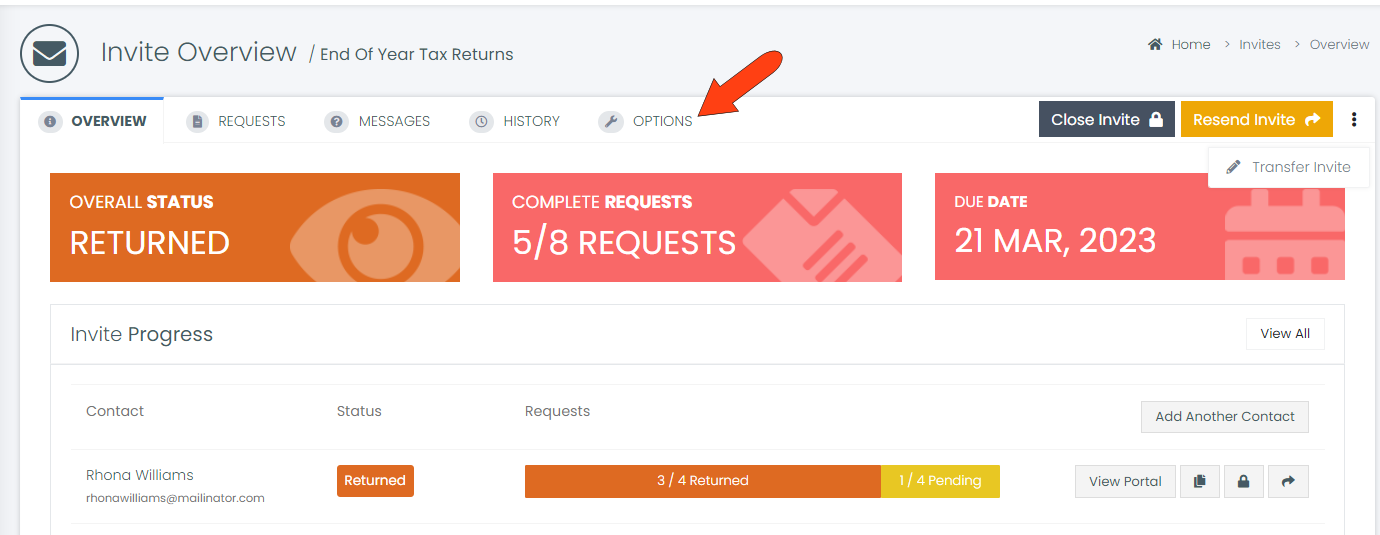
To make changes to a sent Invite, start in your Invites list. Find the sent Invite you want to modify, and click its View icon.

To change name, due date, or reminder settings, open the Options tab.
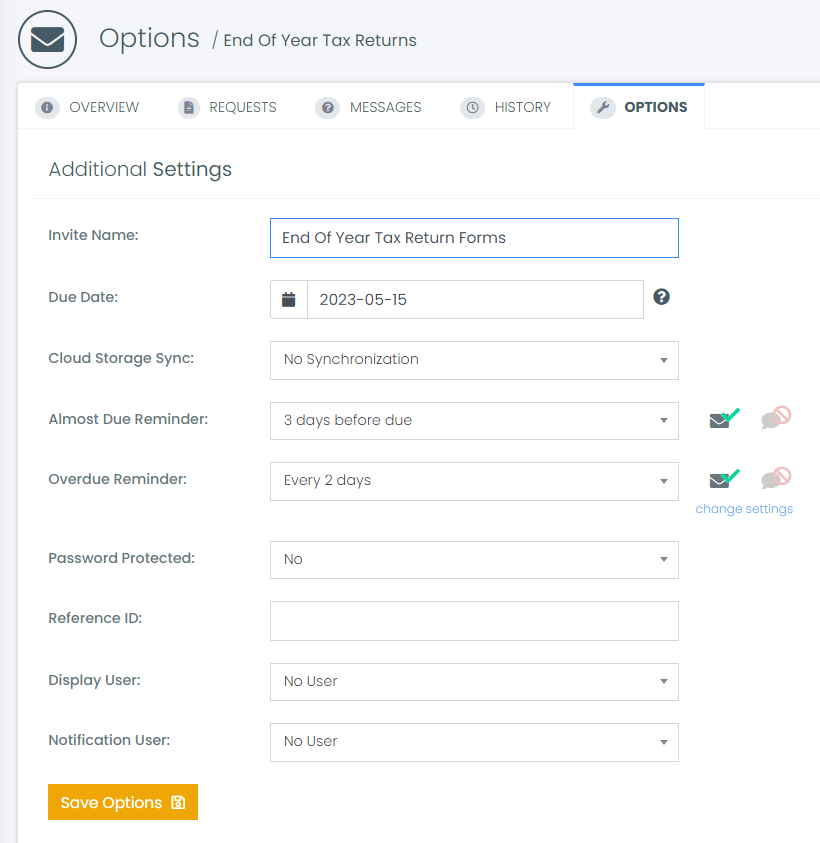
In the Options tab, you can change the Invite Name, set a new Due Date, or change any additional settings such as reminders, password protection, etc. After making your changes, click Save Options at the bottom.
Invite overdue reminders will automatically stop 14 days after the due date or when your client clicks “I’m Finished” in their Client Portal — whichever happens first.
Keep in mind that contacts who have already received the Invite will not be notified of changes made here. But changes will be visible in their Client Portal, and in any future notifications.
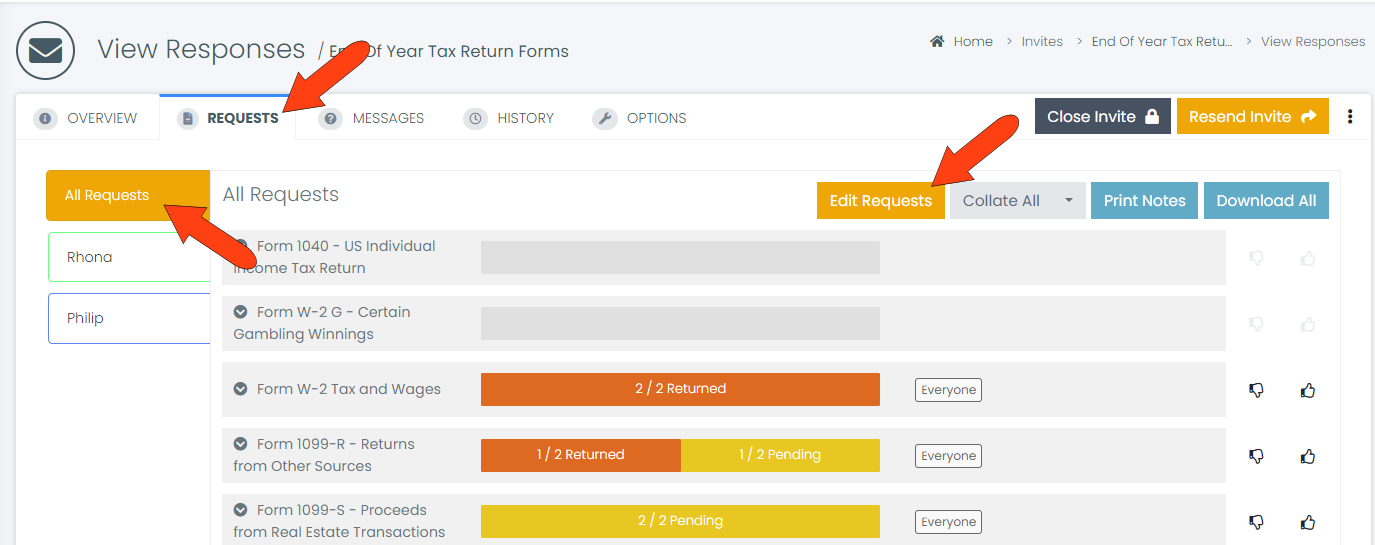
To edit the Invite’s requests, open the Requests tab. If multiple contacts are on the Invite, be sure that All Requests is selected along the left. Then click Edit Requests at the top right.
In the Edit Requests page, you can edit, copy, or delete any of the existing requests. Adding a new request uses the same interaction as adding requests to a template: Enter a request title at the end of the requests list, complete the request details, and click Create Request. You can also click Load Template to import all requests from a template simultaneously.
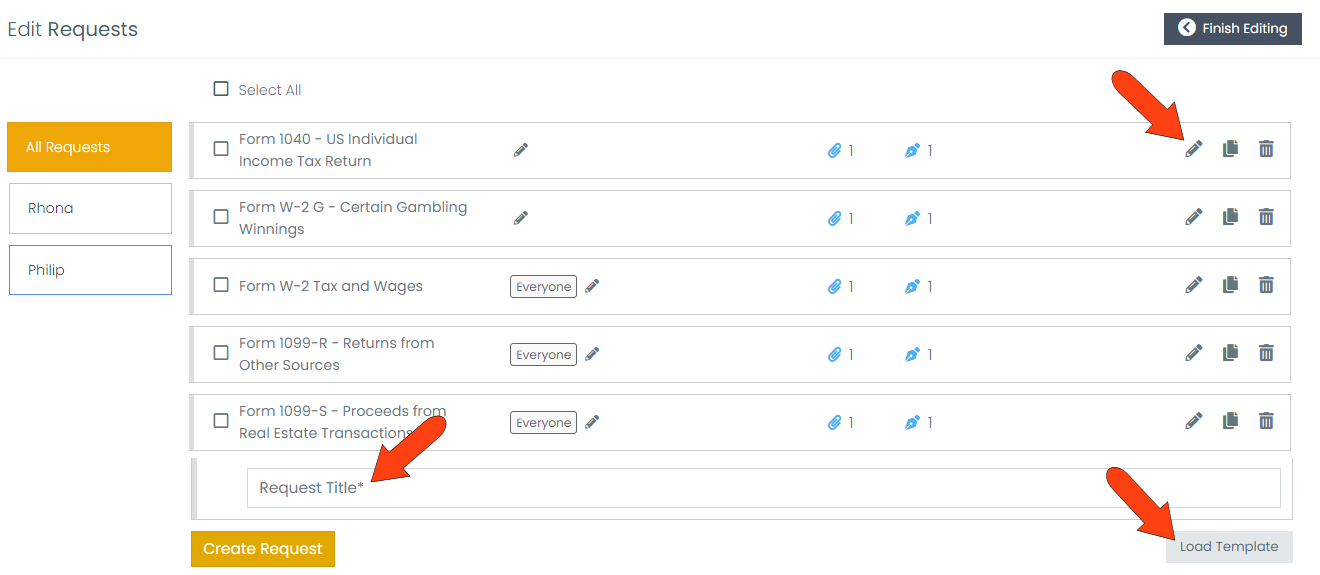
When all requested additions or changes have been made, click Finish Editing at the top.

You will probably want to notify the Invite’s contacts that changes have been made. From any of the Invite tabs, click Resend Invite.
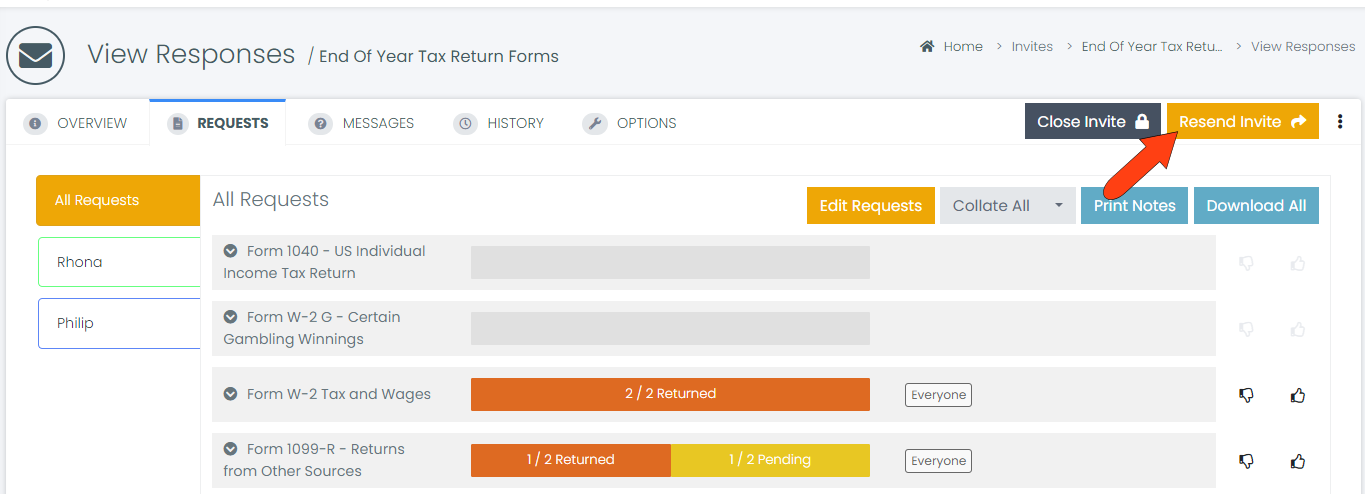
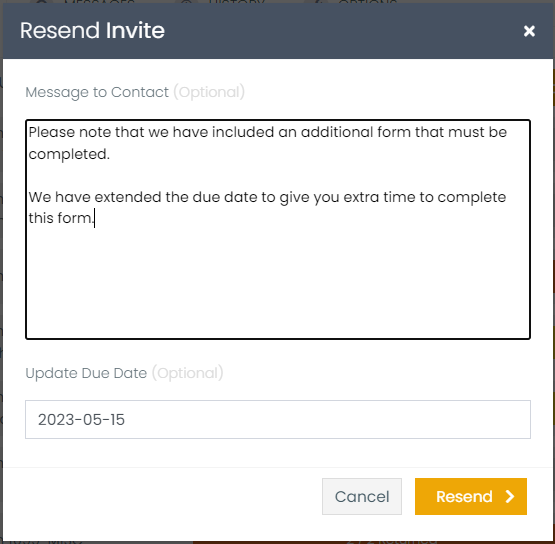
In the Message to Contact field, explain the reason for resending the Invite, then click Resend.
.