Create, Edit, or Delete Contacts
This article describes how to add a new contact to your Contacts list, manage existing contacts, and use company associations to streamline your workflow.
If your Fileinvite Login URL ends in fileinvite.com, please use this knowledge base instead.
Creating a New Contact
Contacts can also be added to your account when creating a blank Invite or an Invite from a template.
To begin, click the Manage Contacts icon on the left, then select Contacts to open your Contact List.
- To add an individual contact, click Add Contacts. To create multiple contacts at once, use the Import from CSV option.

- CSV Import:
When selecting Import from CSV, a new window appears where you can upload your file. You'll also find a link to download a Contact Import Template, which helps ensure your CSV is properly formatted for a successful upload..

Company-Based Contact Management
Contact management now includes enhanced support for company associations, allowing for more efficient invite creation—especially when working with larger organizations.
Company Association
-
When creating or editing a contact, you can now assign them to a company.
-
This association makes it easier to filter contacts and manage communication at the company level.
Bulk Selection by Company
-
When sending an invite, you can now Add All Contacts from Company to the invite with one click.
-
This streamlines bulk actions and improves consistency when dealing with multiple stakeholders from the same organization.
Best Practices for Company Setup
-
Always associate contacts with their respective companies when adding or editing them.
-
Use consistent company names across your contact list to ensure filters and bulk actions work correctly.
-
This setup helps you manage invites efficiently, especially within complex organizational structures.
Editing or Deleting an existing Contact
To edit or delete a contact, click the three dots next to their name to access options like View, Edit, or Move to Bin. You can also click directly on the contact.

- If you choose View, you’ll be taken to the Contact View screen. From there, click the pencil icon in the top-right corner to make changes.

On the Edit Contact screen:
-
Update contact details
-
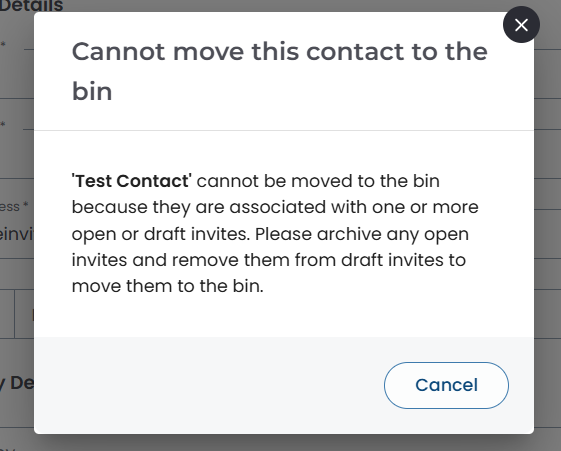
Or delete the contact by selecting Move to Bin
-
Don’t forget to click Save Changes when finished


Managing Multiple Contacts
You can select multiple contacts by checking the boxes next to their names. Then choose to either:
-
Move to Bin
-
Add to Group
This allows for faster updates and organization.

Trash Bin & Contact Recovery
When you move a contact to the Trash Bin:
-
It will remain there for 30 days before permanent deletion
-
You can recover it during this window by going to the Trash Bin tab and selecting the contact, then clicking Restore

Once contacts have been in the Trash Bin for 30 days, they cannot be restored and will be permanently deleted.
