If your Fileinvite Login URL ends in fileinvite.com, please use this knowledge base instead.
Getting Started
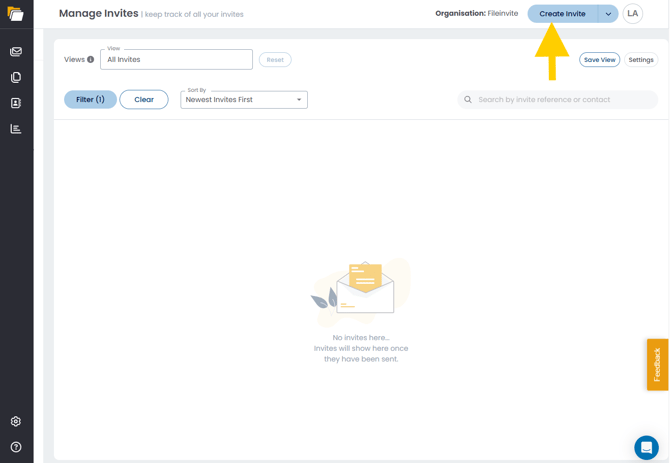
To begin, click Create New Invite, located at the top-right corner of any FileInvite page.
Step 1: Set Up Your Invite
When the Create Invite page opens, you will see Untitled Invite as the default name in the page header. Click the pencil ✏️ icon next to it to rename the Invite with an internal identifier — for example, "Smith Loan - Purchase" or "ABC Company - Equipment Financing." This name is only visible to internal users and does not appear in borrower communications.
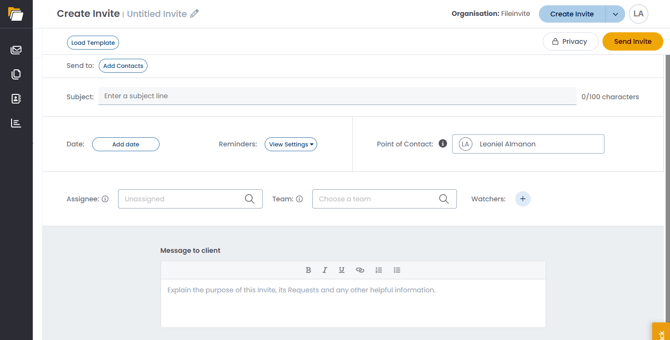
Configure the following fields:
Send to Click Add Contacts to select the borrowers who will receive this Invite.
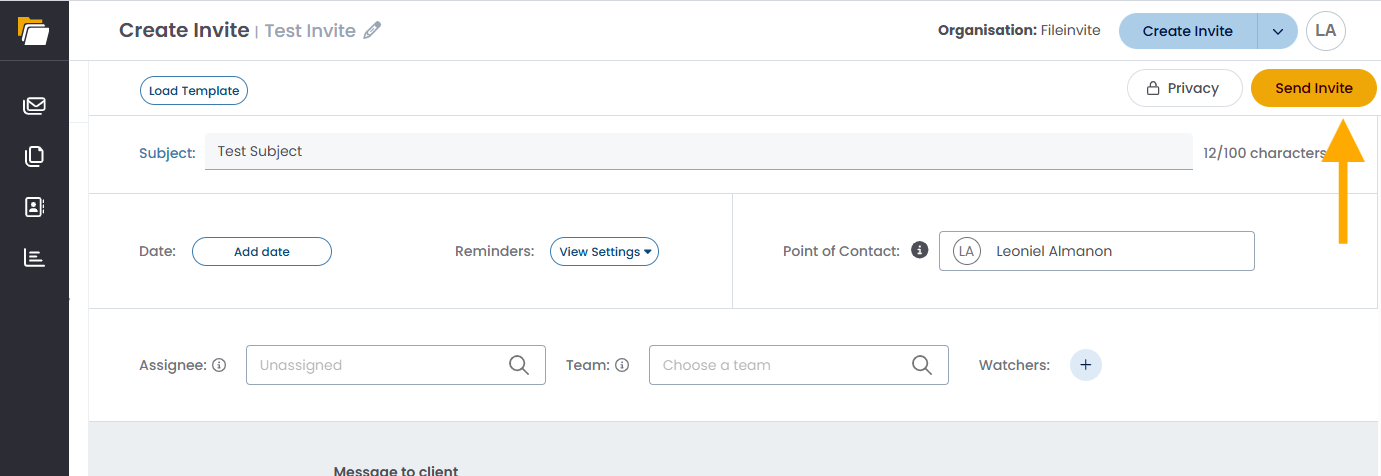
Subject Enter the subject line of the email your borrowers will receive. Limited to 100 characters.
Date Click Add date to set an optional due date. Leave blank to send the Invite without a deadline. See Optional Due Dates for more details.
Reminders Click View Settings to configure reminder notifications:
- Almost Due Reminder — notifies borrowers a set number of day/s before the due date
- Ongoing Reminder — sends recurring reminders until the Invite is completed or manually stopped
Both default to Never. See What's New on the Invites Management Page for full details on ongoing reminders.
Point of Contact The team member visible to borrowers as the person managing their Invite. Defaults to the logged-in user.
Assignee The team member responsible for managing this Invite internally.
Team The team that should have access to this Invite.
Watchers Click + to add team members who should receive notifications about Invite progress.
Message to client Enter a personalised message that appears in the borrower's email and portal. Supports bold, italic, underline, hyperlinks, and ordered and unordered lists.
To include a hyperlink in your message:
- Highlight the text you want to link
- Click the hyperlink icon in the message editor toolbar
- Enter the HTTPS URL — only secure links are accepted
- Links open in a new tab for borrowers
Note: You may optionally click Load Template at the top-left to pre-fill requests, documents, and instructions from an existing template. See Creating an Invite from a Template for more details.
Step 2: Set Up Your Requests
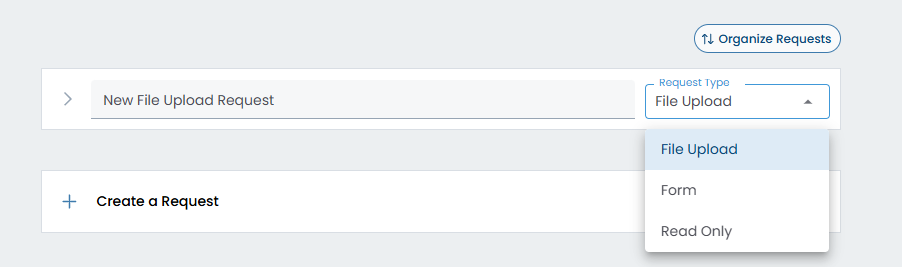
Click + Create a Request to add a new request. A default New File Upload Request is already included — click the arrow (›) to expand and configure it. For each request, you can configure:
- Request Name — a clear, descriptive label for what the borrower needs to provide
- Request Type — select from:
- File Upload — borrower uploads a document
- Form — borrower completes an online form (PDF only)
- Read Only — displays information or instructions without requiring a response
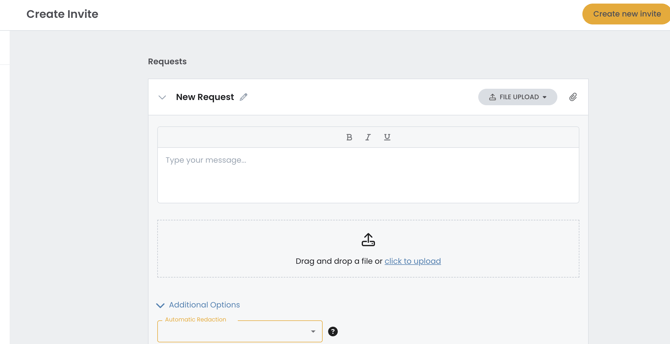
- Instructions — explain what you need and any specific requirements. Formatting supports bold, italic, and underline.
- Recipients — specify which contacts this request applies to
- Redaction Settings — available under Additional Options
To reorder or organise requests into named groups, click Organize Requests in the top-right corner of the requests section. See the section below for details.
📁 Organizing Requests with Groups
Before sending your Invite, you can group related requests to improve clarity for the client:
-
Click Organize Requests to open the grouping modal
-
Name your custom section headers
-
Drag and drop requests into their appropriate groups
-
Reorder groups to prioritize visibility
This helps structure your Invite logically, especially when requesting multiple items.
Duplicate Group Functionality:
- After creating your first request group, you can duplicate it using the Duplicate Group button
- The duplicated group will be named "[Original Name] Copy"
- Modify the duplicated group as needed for similar document requirements
Step 3: Add Recipients
When selecting contacts, you can:
-
Add individual contacts
-
Use "Add all Contacts from Company" to quickly select all contacts associated with a specific company
This is useful for bulk-inviting multiple stakeholders from one organization.
Step 4: Send the Invite
Once all setup steps are complete, scroll to the top of the page and click Send Invite.
Supported file types and size business rules
Supported File Types for Creating an Invite (App)
-
File Request:
-
Users can attach up to 10 documents.
-
Maximum size: 100MB per document.
-
Supported file types: .pdf, .csv, .doc, .docx, .xls, .xlsx, .ppt, .pptx, .txt, .jpg/.jpeg, .heic*, .heif*, .png.
-
-
Form Request:
-
Only PDF files are allowed.
-
Maximum size: 100MB per PDF.
-
Supported File Types for Portal Upload (End Users Portal)
-
File Request:
-
End users can upload up to 10 documents.
-
Maximum size: 100MB per document.
-
Supported file types: .pdf, .csv, .doc, .docx, .xls, .xlsx, .ppt, .pptx, .txt, .jpg/.jpeg, .heic*, .heif*, .png.
-
*Note:.heic and .heif files can only be uploaded via macOS or iOS devices. Windows users will need to convert these files to a standard format like .jpeg or .png before uploading.
🎉 Your Invite is ready — borrowers will receive it the moment you click Send! 🎉