When creating a new Invite, you can request multiple clients to sign the same document. These signatures are digitally certified and legally binding.
Note: Adding e-signatures is available only at our paid subscriptions
If you're having trouble with LiveForms, be sure to check out our LiveForm Troubleshooting Guide for step-by-step solutions and helpful tips.

In this guide:
-
Request multiple signatures for a document
-
Your client's experience

1. In the FileInvite app, click Create New Invite
.png)
Learn how to create and send an invite
Note: Ensure that all parties that have to sign the document have been added to the Invite.
2. Create a request and upload the document you want signed
.png)
3. Click the signature button to add a signature request
.png)
4. To open the signature editor, select Together when prompted
.png)
5. Click the Recipients drop down to select the contact you'll like to assign the fields.
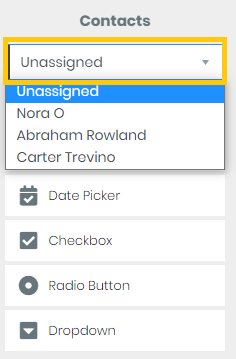
Note: Keep in mind, all contacts in the form, will need to have a field assgned.
IMPORTANT
- All contacts assigned to the LiveForm must complete their sections before the form becomes available for download
- Removing a contact from the Invite does not remove their LiveForm assignment - they must still complete their assigned fields
- Once any contact completes their section, the LiveForm locks for editing - no changes can be made to the form structure or field assignments
The form will remain locked until all originally assigned contacts sign their sections - partial downloads are not available
**Note:** If you need to modify contact assignments or form fields, these changes must be made before any contact completes their section of the form.
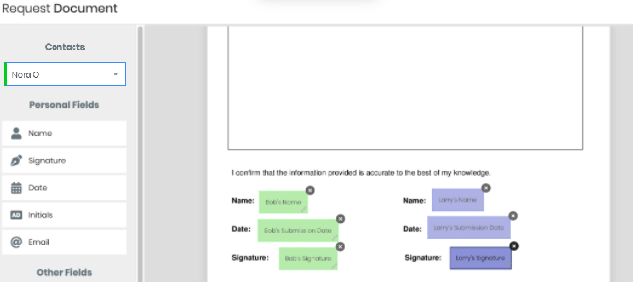
6. Select the information you would like to request, then click and drag the fields to your desired position on the document.
Tip: You can place as many fields as desired, multiple times. Click and drag the bottom right-hand corner of a field to resize it.
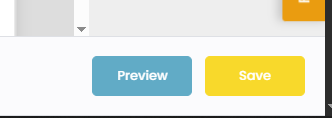
7. Click Save at the bottom of the edit form screen to confirm
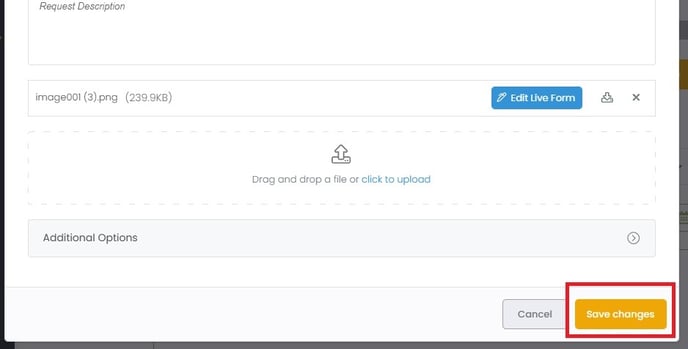
8. Make sure you also click Save Changes to the Liveform Request
Your document will now show all parties that need to sign the documents


Your client's experience
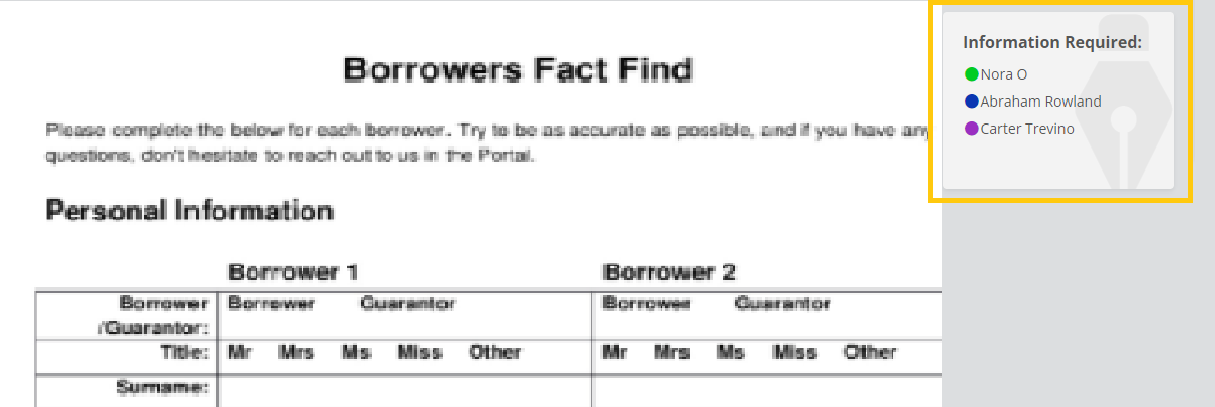
In the Client Portal, your client will be able to see which documents require signatures.
.png)
Once they open the document, they will be able to see where they need to sign, and who else needs to sign the document
They will be able to sign by:
-
Drawing their signature
-
Typing their name
-
Uploading an image of their signature
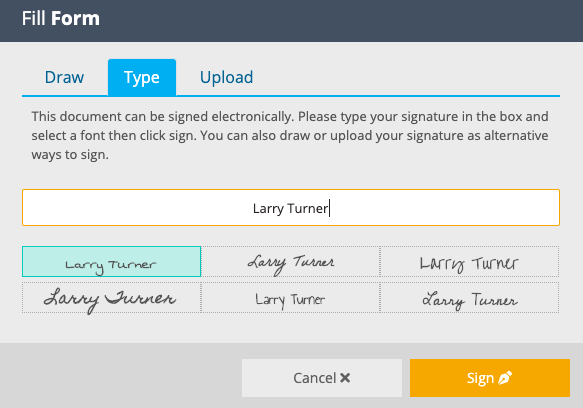
Once they click Sign, the client will be notified that this is a legally binding document.
Note: Your clients will receive a copy of any document they sign along with a certificate of digital signature, which you can also review.
