If you're having trouble with our Bankstatements Integration, be sure to check out our Bankstatements Troubleshooting Guide for step-by-step solutions and helpful tips.
BankStatements users, we've made it easy to automatically download bank statement data into your FileInvites.

In this guide:
-
Activate the BankStatements Integration
-
How it works

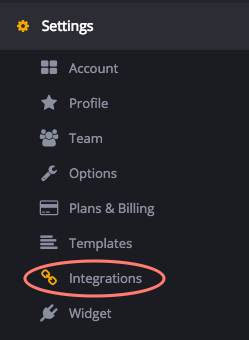
1. In the FileInvite app, go to Settings > Integrations
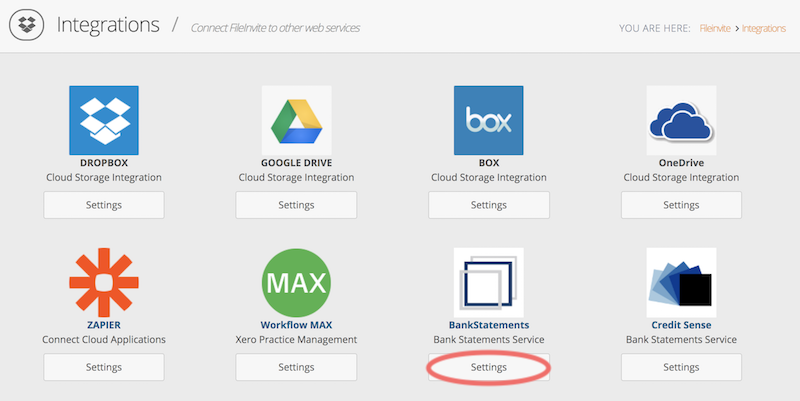
2. Under the BankStatements integration, click Settings
3. On the BankStatements integration page, click the Setup button

4. Under BankStatements settings, paste your BankStatements iFrame URL and click Save
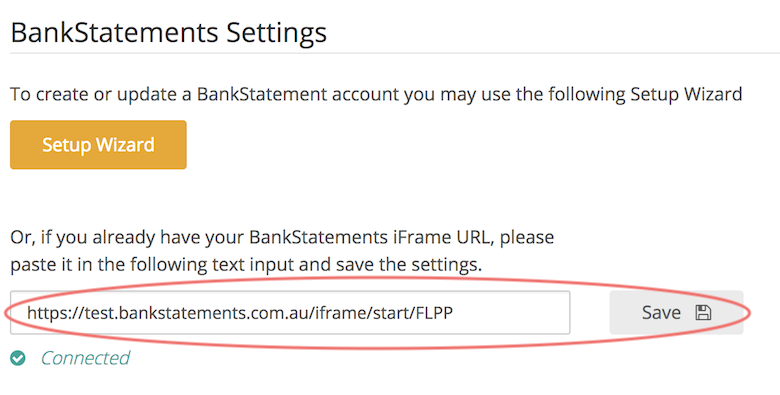
Note: Your iFrame URL is sent to you when you create your BankStatements account.
Visit the BankStatements website for more information.

How it works
Add BankStatements to an Invite
When creating a new Request, the request must be made before it can be edited and changed. Create a Regular Request then click on the edit icon to change the type of Request.

Click the drop down menu and change it from a Regular Request to BankStatements.
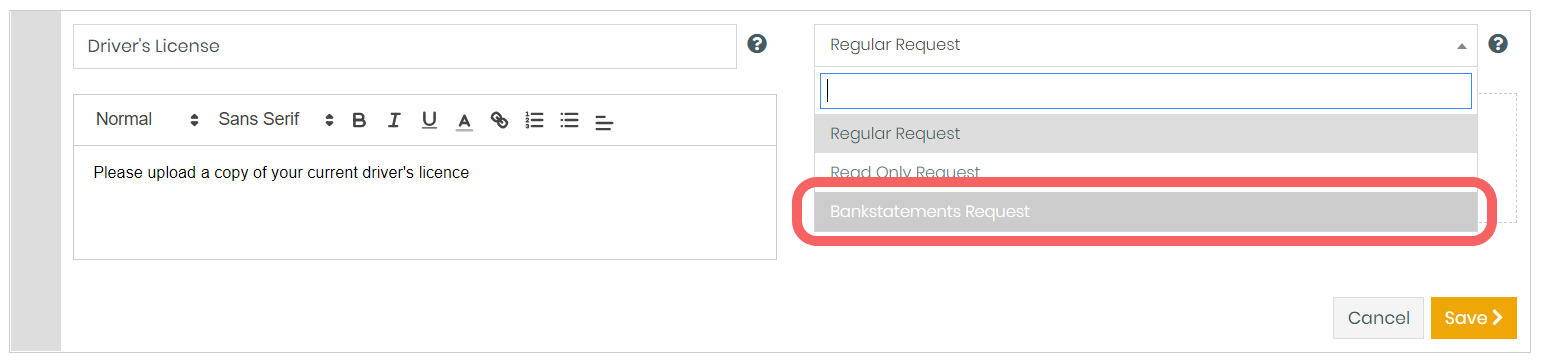
This will turn the request from a general request into a BankStatements request.
For your customers
In the client portal your contact will be guided through the options to automatically download the statements from their bank.
Just like a regular Request, the customer has to click the upload button on the Request but this time, they will be prompted with the instruction below.
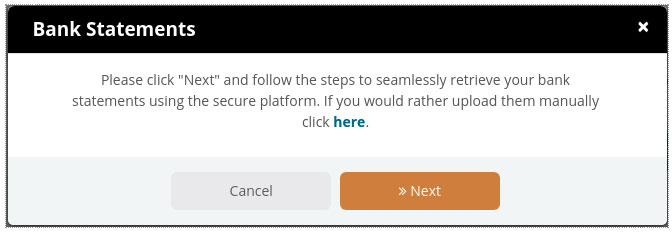
After clicking next, they have to follow a series of instructions
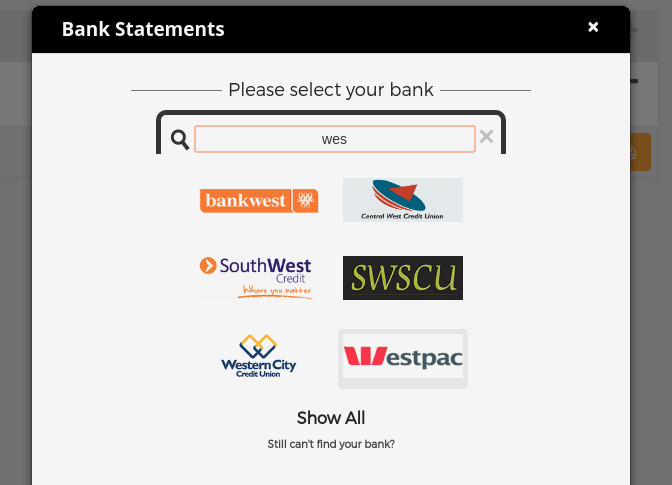
Regular BankStatements Integration
-
Customer has to select their bank
-
Log in using their Credentials
-
Choose the account and submit
MultiBank BankStatements Integration
Multibank functions exactly the same as Normal BankStatements, but it enables a user to access bank accounts over multiple institutions and to have the data from that aggregated into the decision metrics.
-
Customer has to enter their full name
-
Customer has to select their bank
-
Log in using their Credentials
-
Select which Profile the statement data will be retrieved from
-
Select which Account the statements will be retrieved from and click ‘Submit’
-
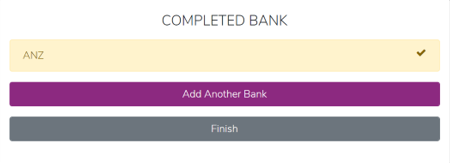
Once the user completes retrieving data from one institution, they have the option to add more institutions before clicking 'Finish' to complete the process
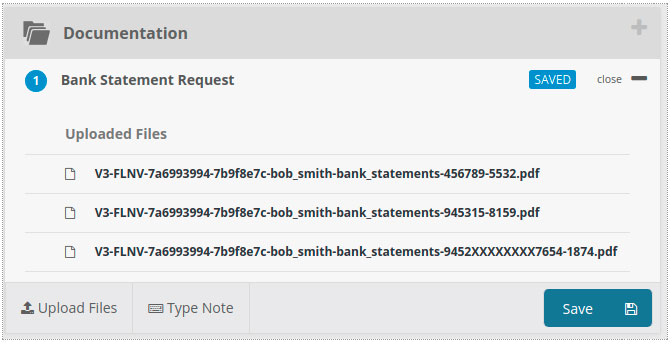
Manage bank statements
Bank statement data will be automatically collected from the client's bank then uploaded into the client portal on their behalf.
Note: Integration with BankStatements is only available with The Mortgage Add-On
📌 Note: Bankstatements Integration Availability
Currently, our Bankstatements integration is only available to clients located in Australia. We understand that expanding this integration to other regions could be valuable, and we’re always listening to your suggestions!
Want us to expand our integrations offering?
We’d love to hear from you. Learn how to submit a feature request in this article:
👉 Submitting Feedback to FileInvite
Your feedback helps shape the future of FileInvite—thank you for being part of it!

🎉 Collecting bank records has never been easier 🎉