If your Fileinvite Login URL ends in fileinvite.com, please use this knowledge base instead.
Navigating the Template Library
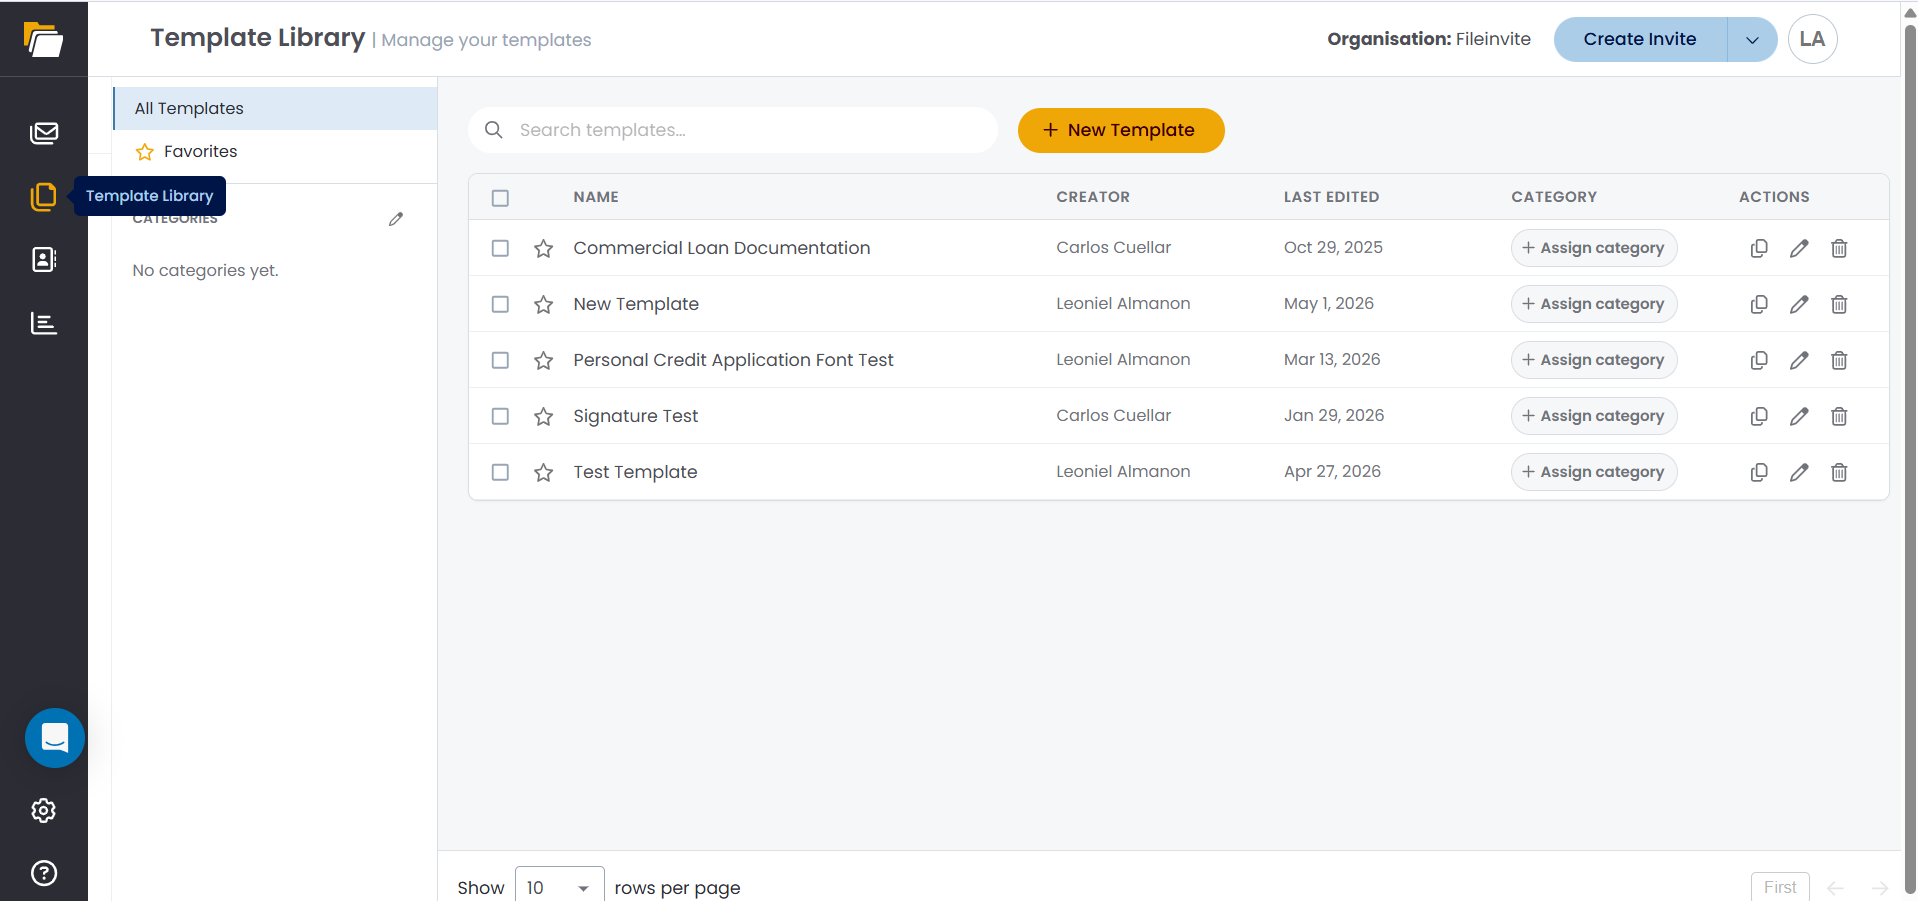
Click Template Library in the left sidebar to open the library. The page shows all templates across your account with their Name, Creator, Last Edited, Category, and Actions.
The left panel has three sections:
- All Templates — shows every template in your account
- Favorites — shows templates you've starred for quick access
- Categories — lists any categories you've created; click one to filter the template list
Use the Search templates... bar to find a template by name.
Creating a New Template
Click + New Template at the top of the library to create a new template from scratch. See Create a New Template for full instructions.
Template Actions
Each template row has three action icons on the right:
- Duplicate (copy icon) — creates a copy of the template
- Edit (pencil icon) — opens the template editor
- Delete (trash icon) — permanently deletes the template
To mark a template as a favourite, click the star icon to the left of the template name. Starred templates appear under Favorites in the left panel for quick access.
Creating and Assigning Categories
Categories let you group templates by loan type or workflow so your team can filter the list quickly.
To create a category:
- Click the pencil icon next to Categories in the left panel
- In the Manage Categories modal, click + New category
- Enter a category name and save
- Click Done to close the modal
To assign a template to a category:
- Locate the template in the library
- Click + Assign category in the Category column
- In the Assign to Category modal, select the relevant category from the list
- Click Save
Note: You must create at least one category before you can assign templates. If no categories exist, the modal will show "No categories available. Create a category first."
A template can be assigned to multiple categories — one master template can appear under every relevant loan type without any duplication.
Important Notes
- Categories are shared across your team. Use clear, consistent naming so everyone can navigate the library the same way.
- Deleting a template is permanent and cannot be undone.
💡 Best Practices:
- Star your most frequently used templates so they're always accessible under Favorites
- Structure categories by broad loan type (e.g., "Residential," "Commercial," "Loan Servicing") for easy filtering
- Assign each template to all categories where it applies rather than creating separate copies per scenario
🎉 Your templates are organised and ready to use! 🎉