
If your Fileinvite Login URL ends in fileinvite.com, please use this knowledge base instead.
If you are a OneDrive for Business user, we've made it easy to link your account and store all your files in one secure place.
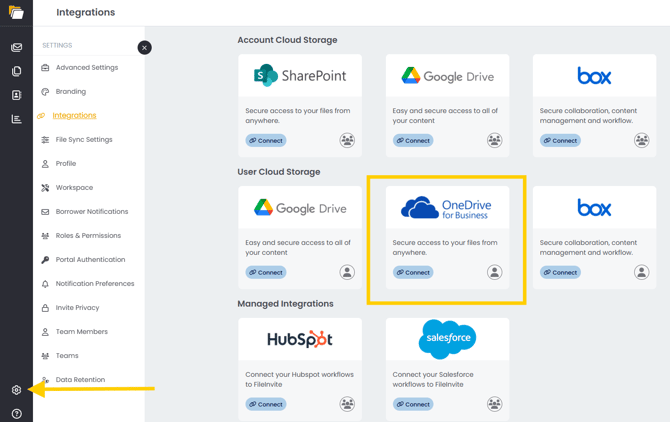
- To get started, click the Settings gear icon at the bottom left, Integrations at the left menu, and then hit the Connect button under OneDrive for Business.
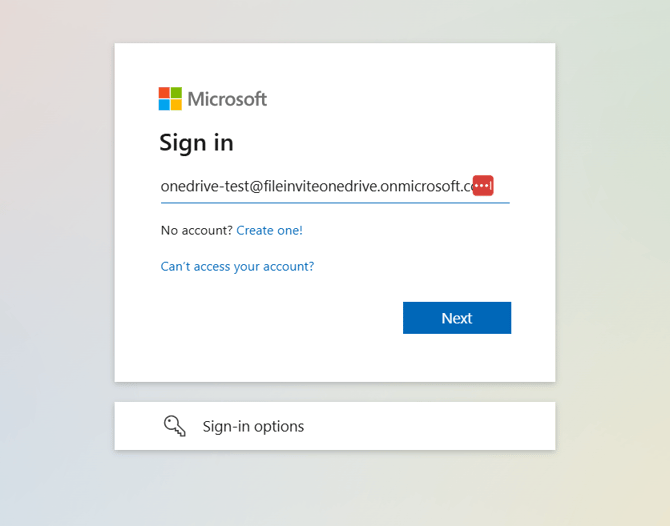
- You will be prompted to Sign in to your OneDrive for Business account.
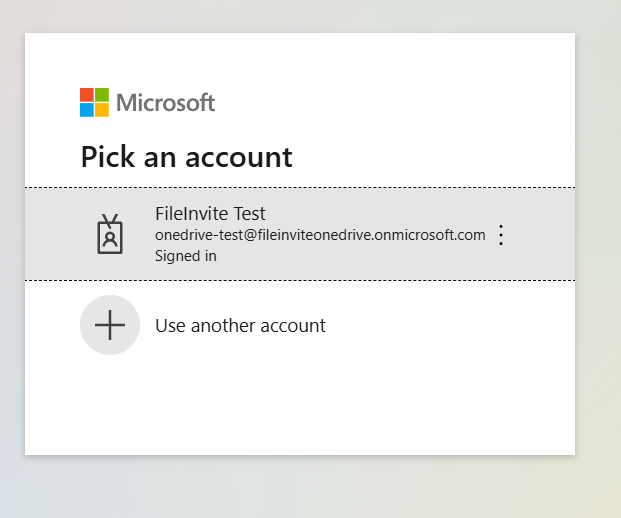
- Or Choose an account if you are already signed in.
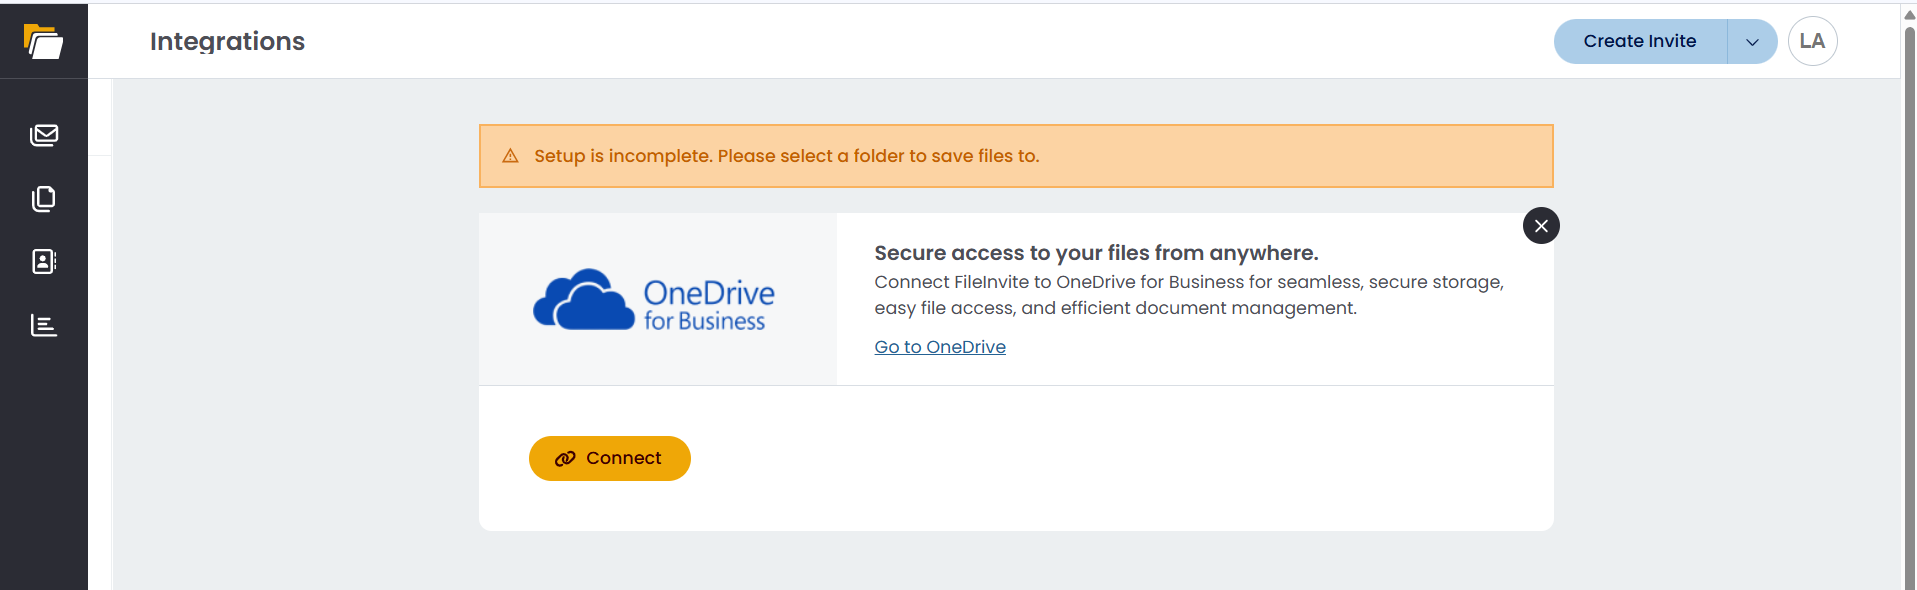
- Follow the prompts on the screen to finish connecting, and you'll get the screen below when ready. Click Choose Folder to create a new folder or select an existing one under OneDrive for Business where you'd like the files to be saved, and then click Save Changes to finish.
- To access the files that have been synced to OneDrive Business, head to My Files> (Your chosen Google Drive Folder), and locate the invite folder
Files your clients upload to their invites will sync to OneDrive for Business based on your File sync trigger setting—either immediately on upload, or after you've Accepted them from the invite Overview page.
If you don't choose or create a dedicated folder, the integration will create a new folder for each invite under My Files.
While Google Drive now supports flexible folder selection, Box, OneDrive, and SharePoint currently require using a predefined folder structure. Check back for updates as we continue improving folder control for all integrations
Only invites created after you’ve set up your cloud sync service will be uploaded automatically. Any files uploaded beforehand will need to be downloaded manually
Files retrieved through the Illion BankStatements integration are automatically converted to PDF and synced to your connected cloud storage alongside all other uploaded documents.
File Sync Trigger
You can control when files sync to your connected cloud storage.
- Navigate to Settings > File Sync Settings
- Click the File Sync tab
- Under Trigger, select an option:
- On Upload: Files are synced immediately when a borrower uploads a document in the portal
- On Accept: Files are synced only when the file is accepted after being reviewed
- Click Save Settings
💡 Best Practices:
- Use On Accept if you want to review documents before they appear in OneDrive for Business
- Use On Upload if your team needs the fastest possible access to uploaded files
Folder Naming Preferences
You can automatically rename the folders FileInvite creates for each invite, both for downloaded files and files synced to OneDrive for Business.
- Navigate to Settings > File Sync Settings
- Click the Folder Options tab
- Toggle on Rename Invite Folders
- Choose your preferred Separator Options (e.g., underscore, dash, or space)
- Drag to reorder which variables appear in the folder name:
- Invite Subject
- Contact(s) Name (format options include Firstname Lastname)
- Invite Reference
- Date (format options include YYYYMMDD)
- Contact(s) Company
- Click the eye icon next to any variable to show or hide it from the folder name
- Check the Folder Name Preview to confirm the result
- Click Save Settings
Note: If the generated folder name exceeds 50 characters, it's automatically truncated to ensure compatibility with Windows.
🎉 Your files, synced straight to OneDrive! 🎉