- If your Fileinvite Login URL ends in fileinvite.com, please use this knowledge base instead.
- Templates are available only to users with an Organisation Owner, Admin, or User role. Learn more about user roles and permissions here.
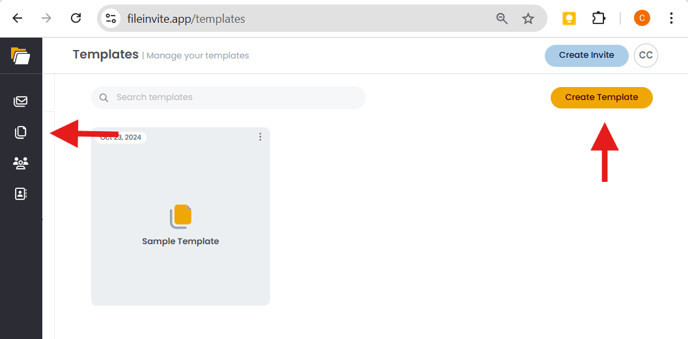
To create a new template, click Templates along the left, then click Create Template.
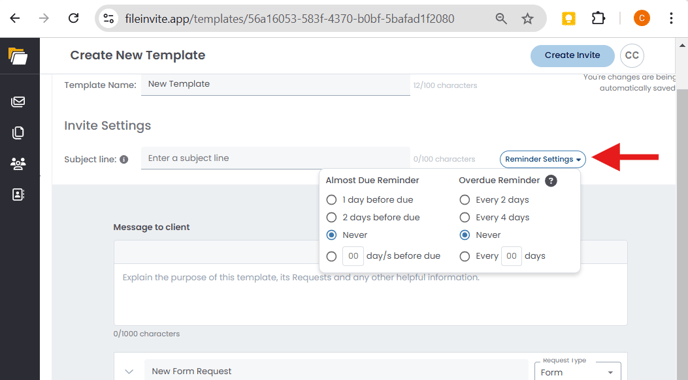
Fill in the template information such as the Template Name, Subject Line, and Message to client.

Click Reminder Settings to select when the Almost Due Reminder is sent, and how often the Overdue Reminder is sent.
Overdue Reminders stop after two weeks or when the client actions the invite, whatever happens first.
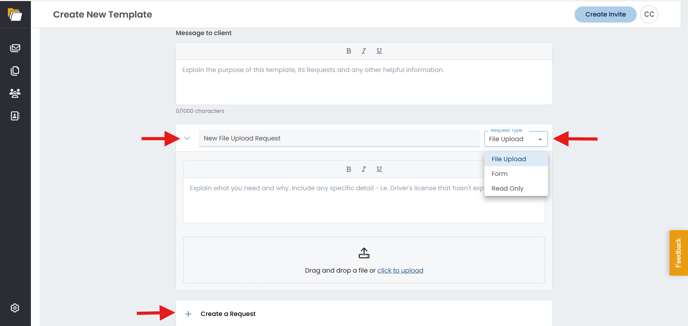
Click the arrow next to the default request to start creating your first request. You can add a request name and description, change the request type (Form, File Upload, or Read-Only), and upload files.
All changes are automatically saved. Once you have finished creating the first request, you can add more requests by clicking the plus next to Create a Request.
After you are done creating the template, click Finish Editing at the top right.
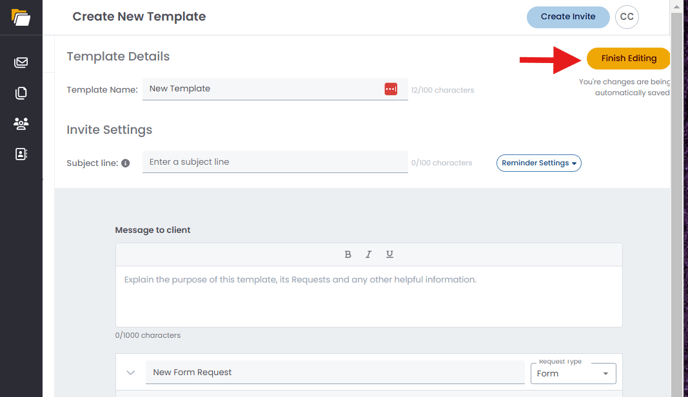
The template can now be used when creating an Invite.
Supported file types and size business rules
Supported File Types for Creating a Template (App)
-
File Request:
-
Users can attach up to 10 documents.
-
Maximum size: 100MB per document.
-
Supported file types: .pdf, .csv, .doc, .docx, .xls, .xlsx, .ppt, .pptx, .txt, .jpg/.jpeg, .heic, .heif, .png.
-
-
Form Request:
-
Only PDF files are allowed.
-
Maximum size: 100MB per PDF.
-
Supported File Types for Portal Upload (End Users Portal)
-
File Request:
-
End users can upload up to 10 documents.
-
Maximum size: 100MB per document.
-
Supported file types: .pdf, .csv, .doc, .docx, .xls, .xlsx, .ppt, .pptx, .txt, .jpg/.jpeg, .heic, .heif, .png.
-