How to add new contacts so you can start sending them FileInvites
Your Contacts are the parties that you can send FileInvites to.
Contacts can be added one-by-one or in bulk using the import function.
 Create a single Contact
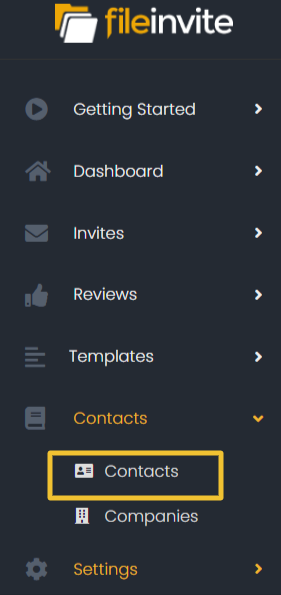
1. In the FileInvite app, go to Contacts.
2. Click the Create Contact button.

3. Add all relevant information to the form
- Fill in personal information
- Add email and phone number
- Enter their physical address
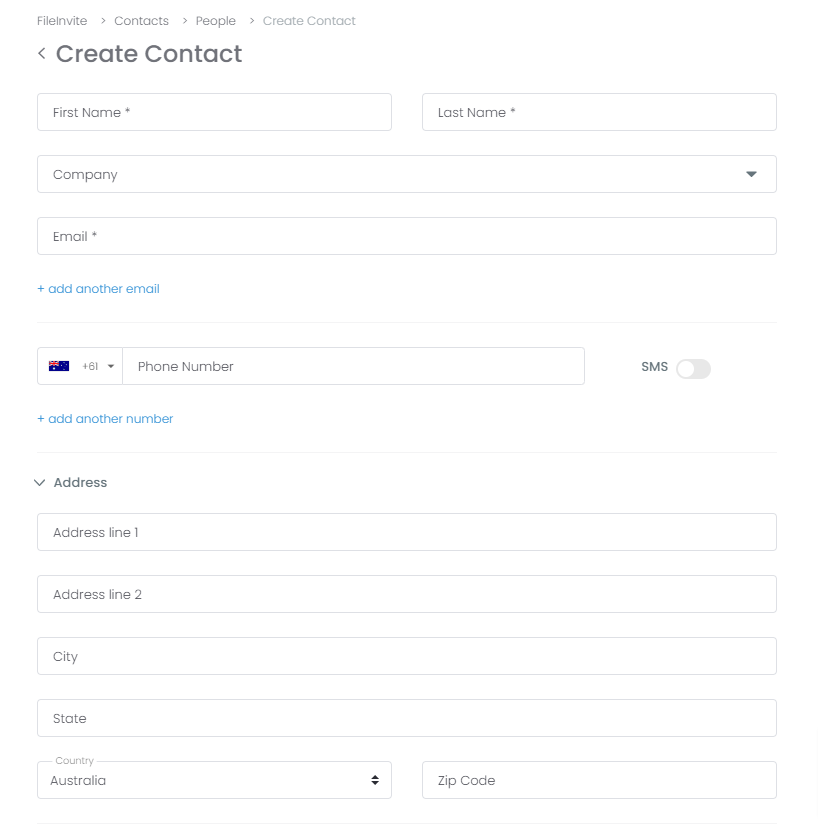 Note: You can add multiple SMS numbers to a Contact and select which one will be used to receive the SMS notification by enabling the SMS button right next to it.

4. Once you have added these details, click Create Contact to continue.

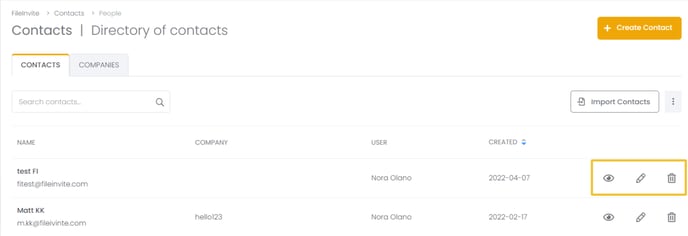
5. The new contact will now appear in your contact list! You can also use the Search Bar to search for your newly created contact.
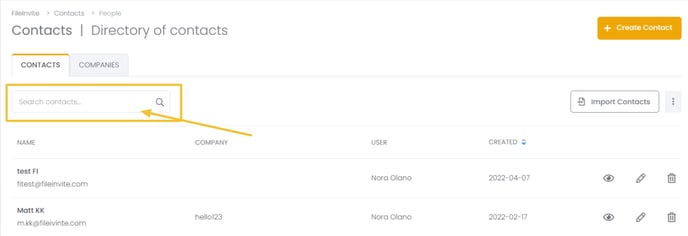
You can easily delete contacts by clicking the trash bin icon on the right hand side or edit a contact by clicking the pencil icon right next to it.
Import multiple Contacts
Preparing your Template
- Download this Template to ensure that you are Using the correct headers and formatting.
- There is a 500 record limit on the import. If you have more than 500 entries, please split them into multiple files.
- The file must be in CSV format (MS Excel / Google Sheets).
Do not delete the Mobile Number column otherwise you will encounter an error with the headers. You can leave it blank if you don't want to add mobile numbers.

Now that your Template is ready, let's upload your Contacts!
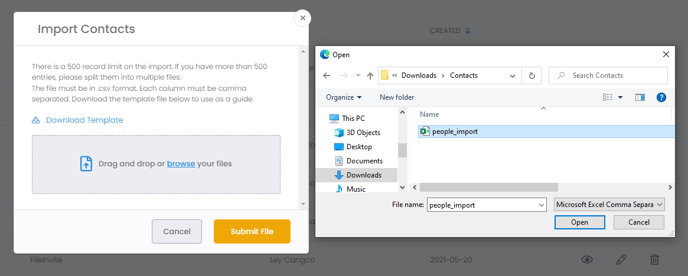
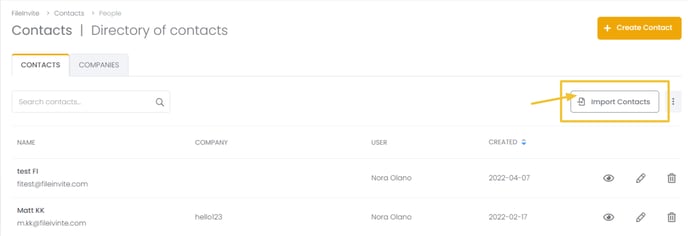
1. On the Contacts page, click the Import Contacts button.
2. You can drag and drop your template inside this box or click it to upload your template manually.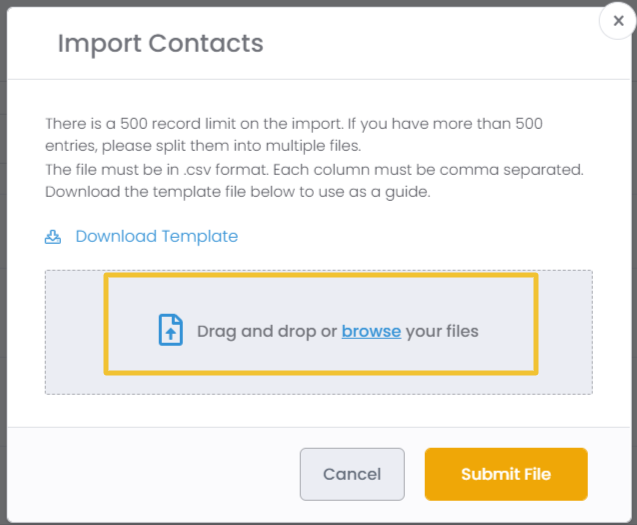
3. Click the Submit File button to confirm your import.
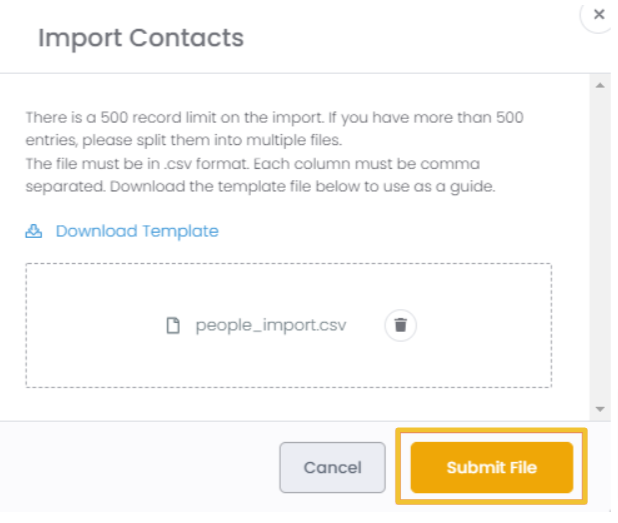
Note: You can easily delete your Template and upload a new one by clicking the trash bin icon next to it.
Back on the contact page, you will see your new contacts appear, and depending on how many contacts you have imported, it may take a few minutes to complete.
Now it's as easy as typing their name to add your contacts.

