If you're having trouble with Invites, be sure to check out our Invite Troubleshooting Guide for step-by-step solutions and helpful tips.
Adding links to your Requests is a powerful way to allow your contacts to access external services you use.

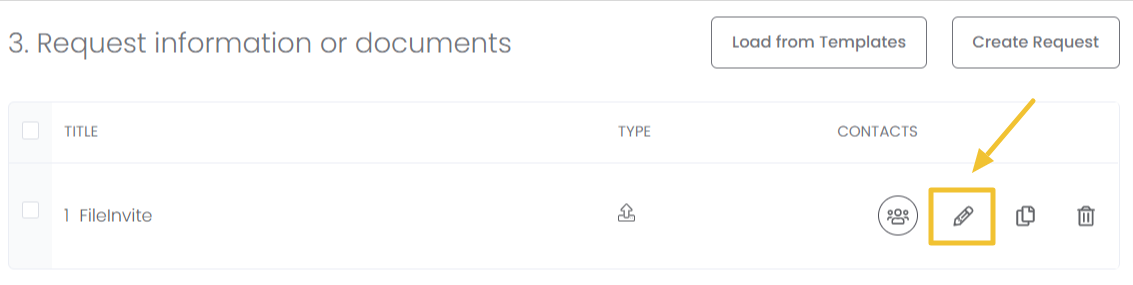
1. Open an existing Invite/Template.
2. Either click into the new Request title, to reveal the Request Editor, OR, Click the Edit Pencil ✎ to edit the Request.

- If it's opened via create a new Invite, it will look like this under Step 3 'Requests'.
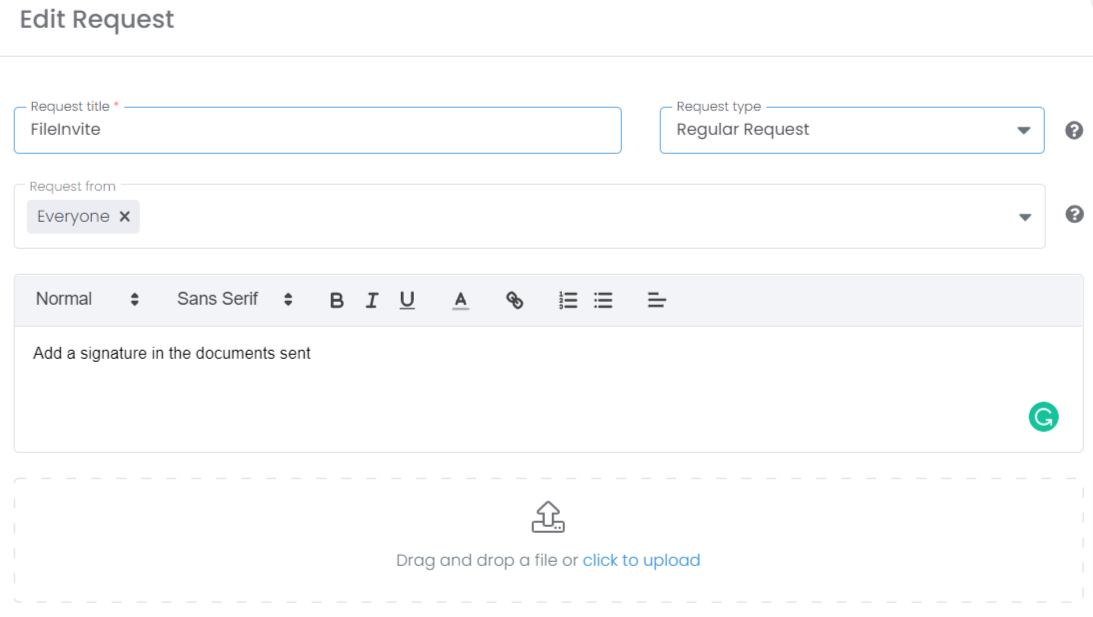
3. Enter a clear description for the Request that explains what you require, and any specifics the client should be aware of.

- Create invite view
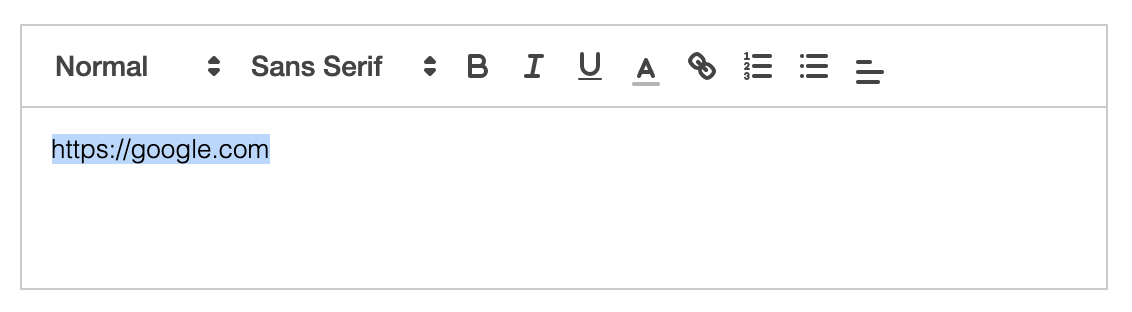
4. Paste your URL into the Request description, and highlight the URL you'd like to link.
Tip: You can also enter text such as Click this link and turn the text into a Hyperlink.
5. Click the Hyperlink icon in the toolbar and Enter the exact URL for the service i.e. https://www.google.com
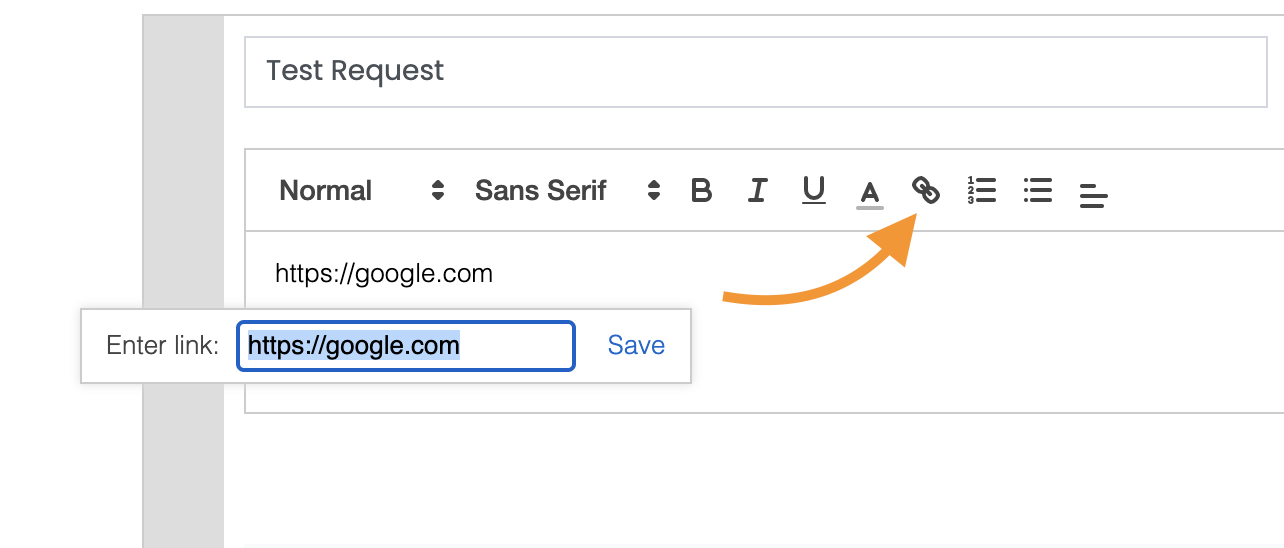
6. The text will now appear as a hyperlink, that the contact can click.
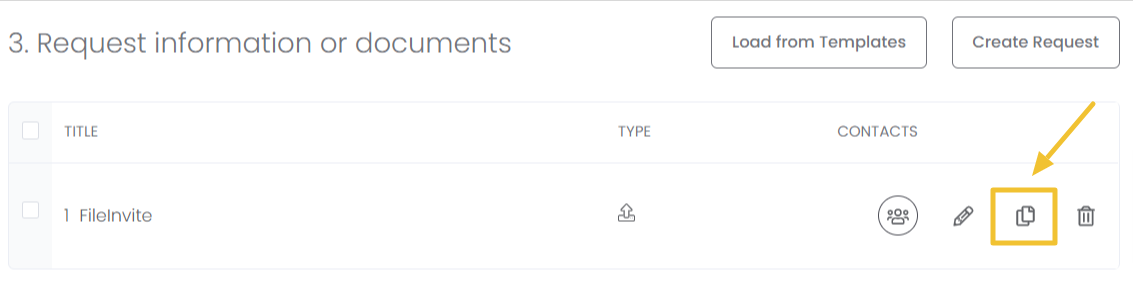
Note: If setting up links for Multiple contacts, on the same Invite, they will require their own Request assigned to them.
- Either create a new Request or use the Copy function to duplicate the previously made Request (to save starting from scratch)
- Update the Request description/link of this new Request using the previous steps
- Click the Edit Pencil ✎ on each Request
- Look for option Request from option, under Title, and select who will receive this request
- Check the correct Contact for that Request
- Repeat these steps for each Contact