If you're having trouble with Invites, be sure to check out our Invite Troubleshooting Guide for step-by-step solutions and helpful tips.
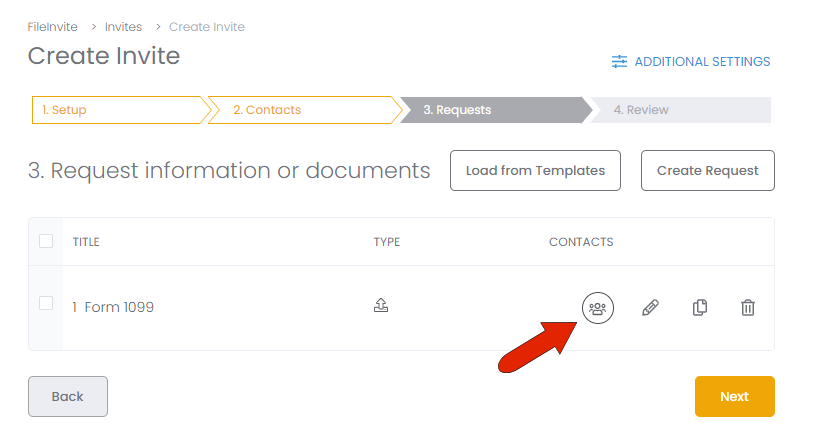
When creating a blank Invite, the third step is Request information or documents. If you already have one or more requests included in an Invite template, you can click Load from Templates. To create a new request from scratch, click Create Request.

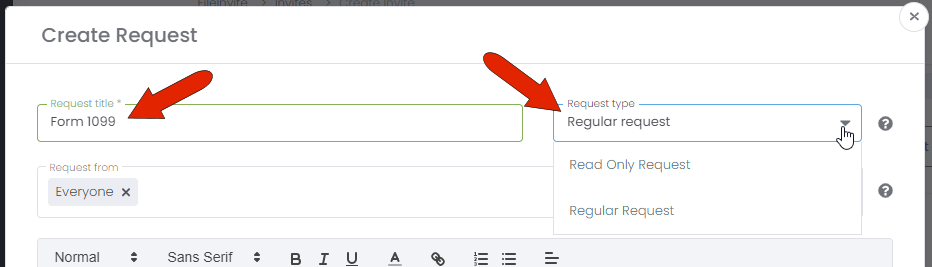
At the top of the Create Request window, enter the request name and select its type.
-
Regular request: Requesting information or a document
-
Read-Only request: Information with no request to complete or upload
-
Live form: A form that can be filled out online
-
E-signature: signature is required, which can be completed online
-
Bank statements: Redirects the client to a secure portal, from where they can access and download their banking information
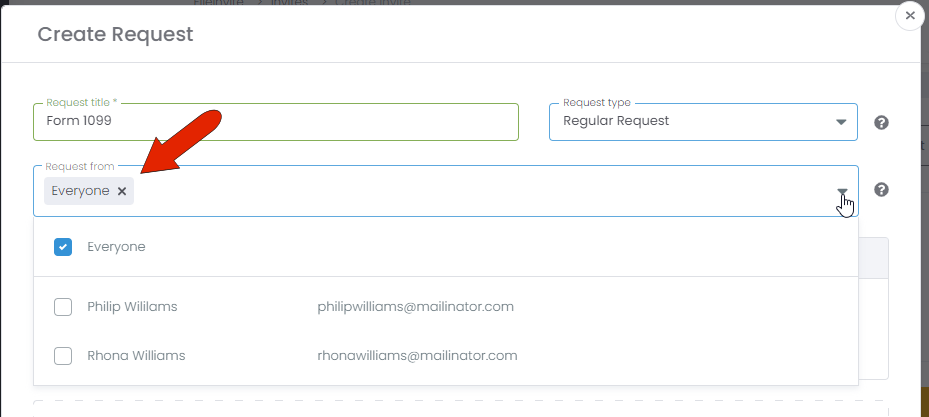
By default, the Request From field lists Everyone, which means the request will be sent to all selected contacts. But you can expand this field and choose the individual contacts who will receive this request.
Add a message with instructions for the request, then upload the form. You can either use drag and drop, or click the upload link to browse to the form. Multiple documents can be added if needed.
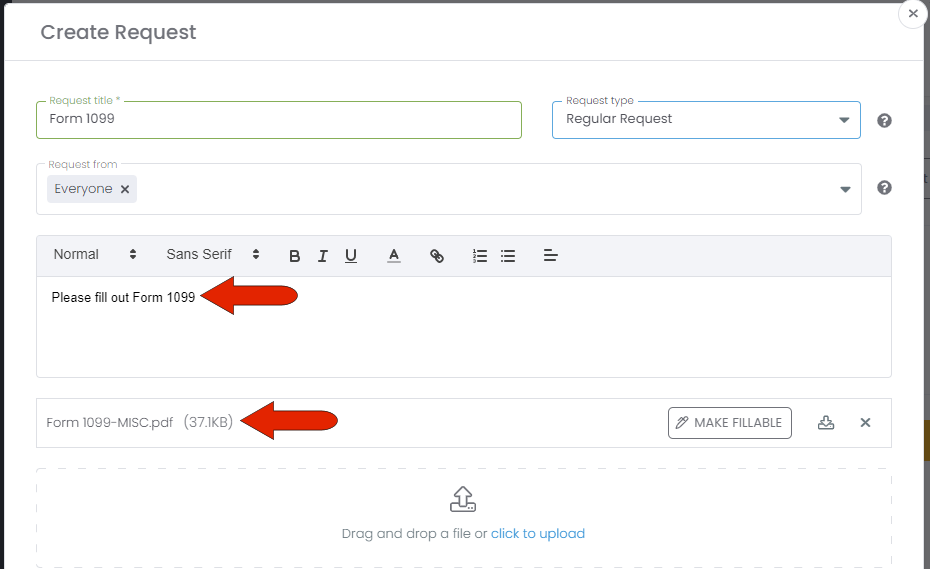
To make the form fillable online, also known as a live form, click Make Fillable.
- If you're having trouble uploading a file, please try opening the file on your computer to confirm it is not corrupted.
- There is a maximum upload limit of 1 GB for video files. Please ensure your file does not exceed this size before uploading.
- If your PDF already contains fillable fields (e.g., created in Adobe Acrobat or another PDF editor), clicking Make Fillable may result in an error. Please upload a flat, non-fillable version of the PDF instead. You can flatten it by printing the file to PDF. Alternatively, leave the file as is and set the request type to Regular. Guide: How to Prepare a File for a Live Form
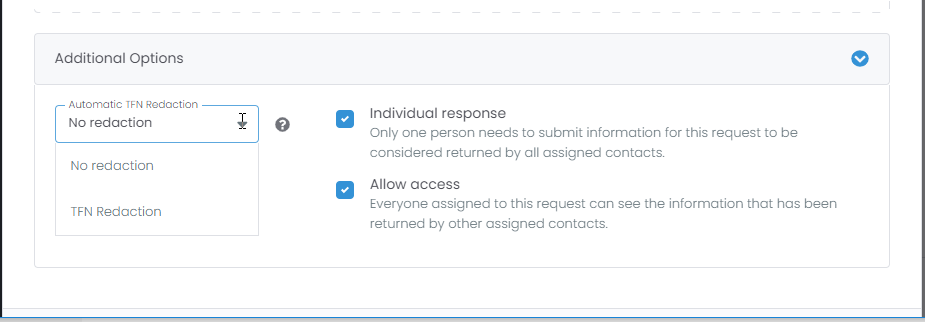
The last section of this window is Additional Options.
-
TFN Redaction: Available for Australian users only, this setting masks sensitive numbers so that they are visible only to those with the correct authority.
-
Individual response: If enabled, only one of the contacts needs to complete the request on behalf of the contact group.
-
Allow access: If enabled, all contacts can see responses from other contacts.
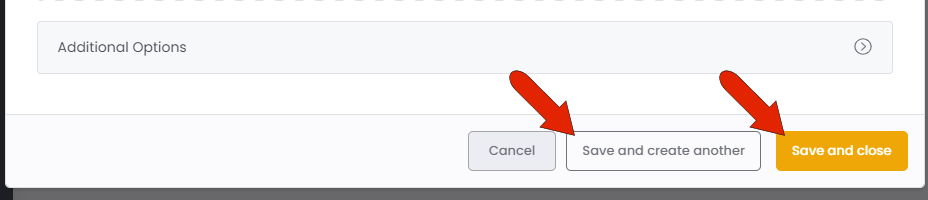
When the request is complete, click Save and Close, or click Save and create another to add another request to the Invite.
Once saved, the request appears in the Invite. Each request has four icons at the right. The first indicates whether the request will be sent to all or only selected contacts. This is followed by icons to Edit, Duplicate, and Delete the request.
Duplicating a request is a handy option for multiple requests that have similar messages or forms. A duplicated request can be edited as needed.