Only Master/Admin User accounts can Send as different Users, Standard Users do not have this feature. Additionally, multiple Users are only available on Multi and Enterprise plans.
If you're having trouble with Invites, be sure to check out our Invite Troubleshooting Guide for step-by-step solutions and helpful tips.

In the FileInvite app, hover over Create New Invite and Select the User you'd like to send the Invite as.
Ensure you're logged in as an Admin/Master User to see available Users in the drop-down.

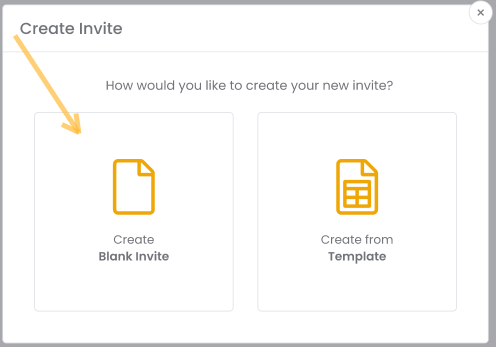
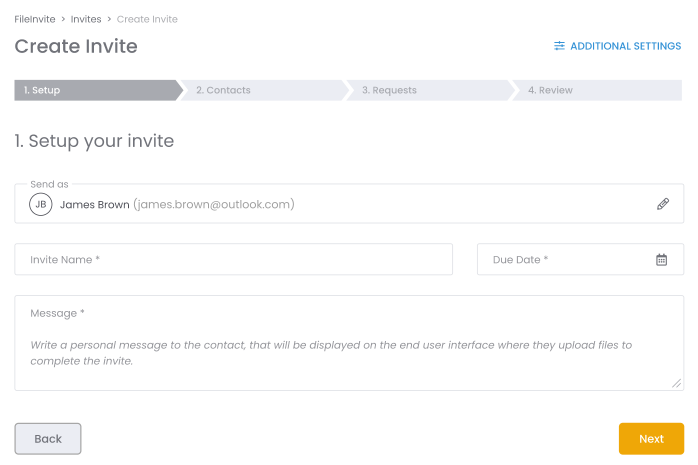
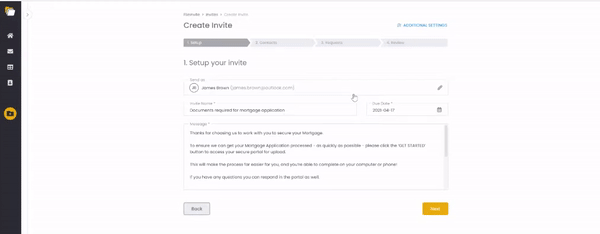
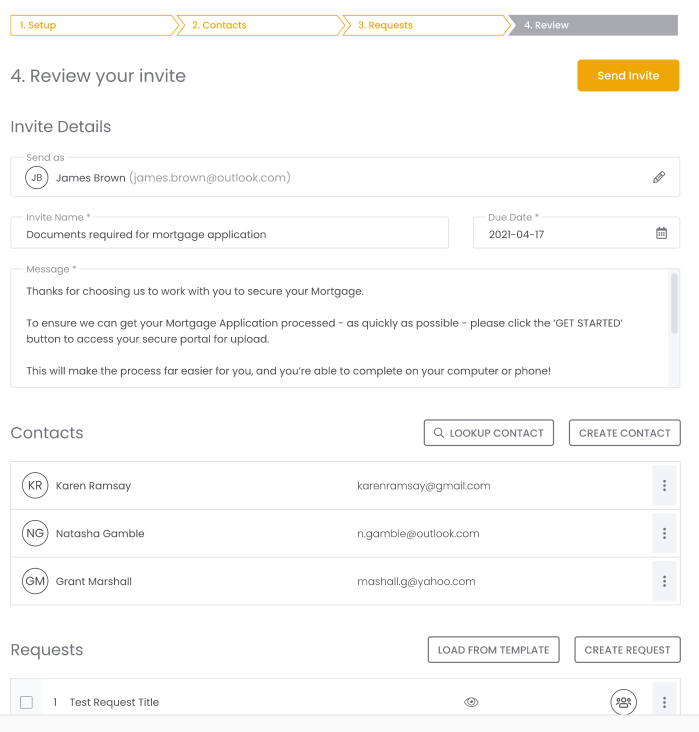
Start by choosing Send as Me or Send as {Another user}, and choose Create Blank Invite option. This will take you to the invite setup screen. This is where you can add basic information about the invite, like the subject and a description or message to your clients to identify what the invite is about.
-
Add a subject line to your invite
-
Add a message to accompany your Invite
-
Set a due date for your invite
note: The due date must be at least one day later than the creation date
Special characters such as !, #, $, ^, &, *, (), _, etc. are not supported in the invite title or body.
If you receive an error when sending the invite, please check for and remove any of these characters before trying again.
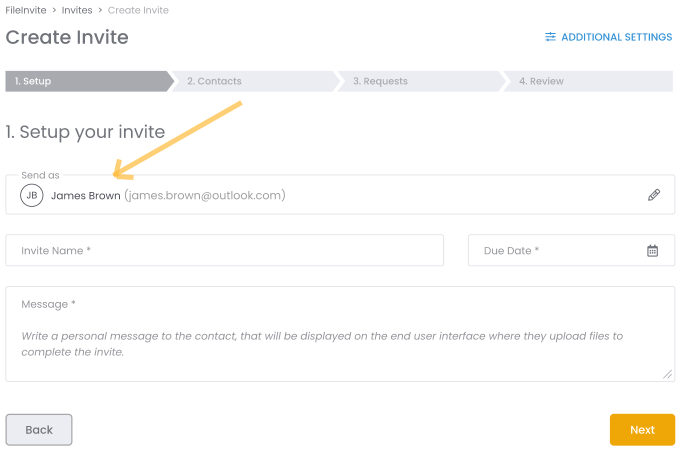
You change the display user (your clients will see the invite coming from this user) on this screen using the send as option.
You can also find additional options over the top which let you configure additional settings like:
-
Cloud storage sync - You can sync your cloud storage here to automatically backup any documents.
-
Reminders - Set how often your client gets reminder notifications about the invite.
-
Password protected - For added security, enabling this option lets your client set a password to log in to the portal, and would have to use that password to access the portal from then on.
-
Reference ID - Reference number for the invite for additional documentation.
-
Display user override - This option would override the invite owner and let you choose who would appear as the sender of the invite to your clients.
-
Notification user override - This option would override the invite owner and let you choose who would get notified of any invite activities.
Invite overdue reminders will automatically stop 14 days after the due date or when your client clicks “I’m Finished” in their Client Portal — whichever happens first.
The next screen would be to add contacts. You could either search through your contacts lists or create a new contact which gets added to the invite and also to your contacts list.
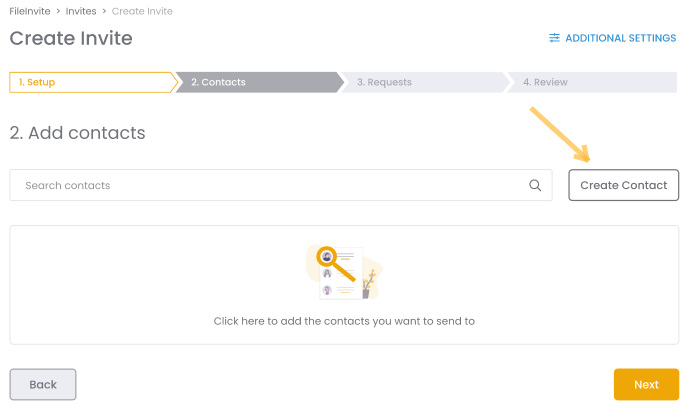
Important: You can add up to 15 contacts in one invite
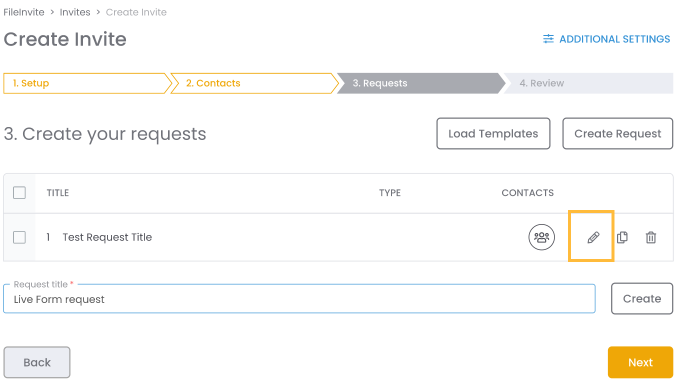
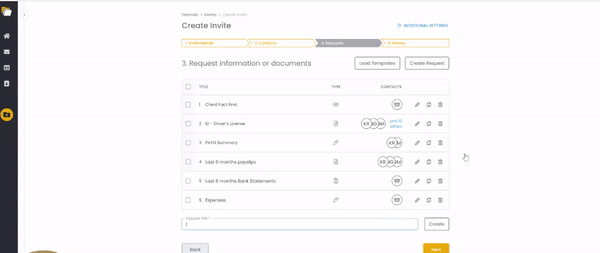
The next screen allows you to create your document requests. You can create request titles and add more details to the request by choosing the edit option. You can use the edit pencil button to edit the request and add more information or to attach a document and convert it to a live form.
Editing the request (edit pencil) lets you add more information about the request, choose the request type, choose the contacts who should be receiving the request, add documents that can be converted to live forms and additional options such as notification and integration settings.
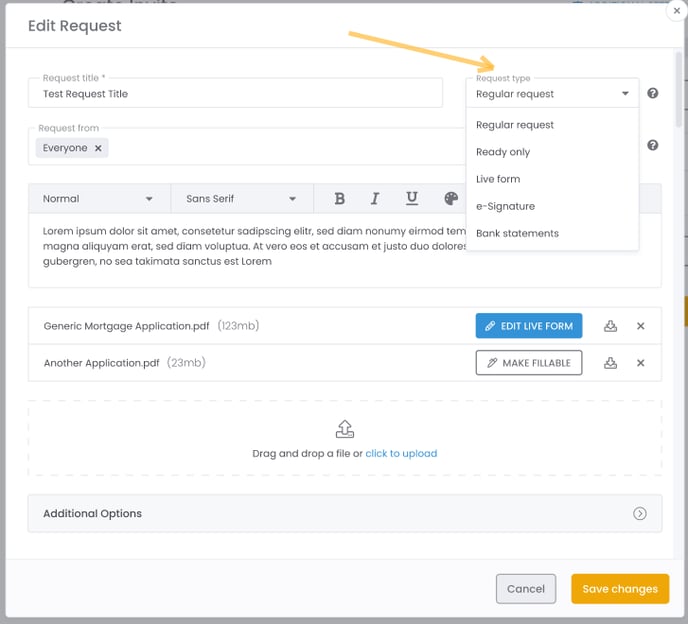
You can change the request type to the following:
-
Regular request - This is when you are asking for any information or documents from your client.
-
Read-only - This is when you are not requesting any information or document, but only leaving information for your client to read and understand.
-
Live form - This is a live form request that your client needs to fill in.
-
e-signature - This is the type of request that requires a signature from your client.
-
Bank statements - This is a bank statements request that redirects your client automatically to a secure portal that would let your client access their banking portal and download the requested information.
- If you're having trouble uploading a file, please try opening the file first to confirm it is not corrupted.
- There is a maximum upload limit of 1 GB for video files. Please ensure your file does not exceed this size before uploading.
Once you have all the information and requests set for the invite, you may review the invite and send it.
You can now relax and wait for your clients to start working on the invite.
Congratulations, you've sent your FileInvite!

You can review and monitor the Invites progress by clicking Review your Invite.