Companies help you organize your Contacts and in this guide, we will show you how you can add a Contact to a Company that you have created.

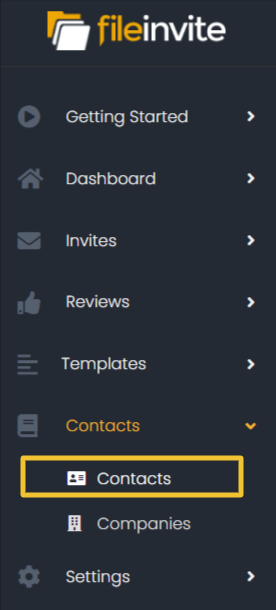
1. In the FileInvite app, go to Contacts.
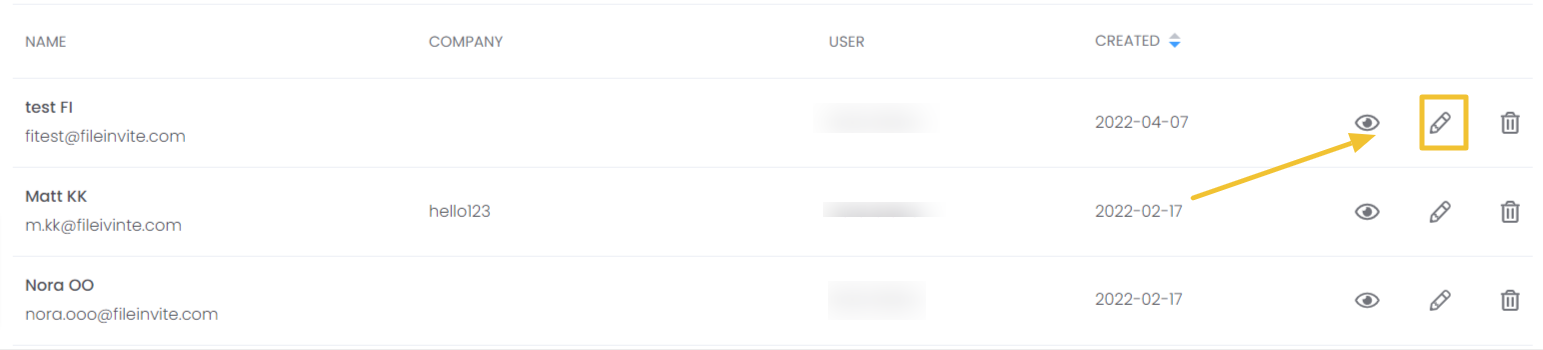
2. From the contacts page, click the ✎ icon to edit a Contact.
3. Under Company, use the drop-down menu to select their associated company.
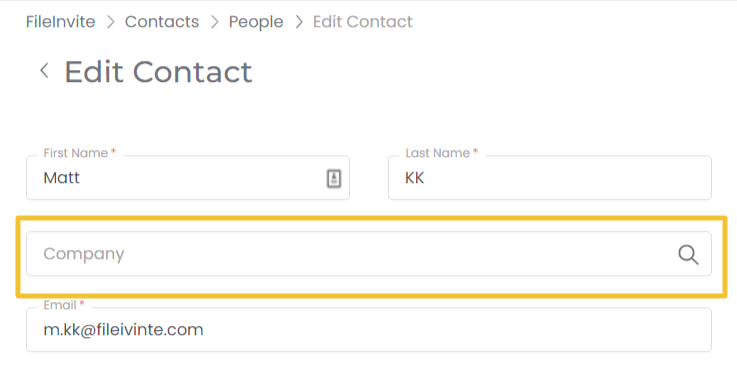
4. Click the Update Contact button to confirm the change.


That's your contacts sorted! Now it's even easier to get those Invites out!