- If your Fileinvite Login URL ends in fileinvite.com, please use this knowledge base instead.
- Creating and updating users is available only to users with an Organisation Owner or Admin role. Learn more about user roles and permissions here.
Creating a New User
- Click the Settings gear icon in the left navigation panel and select Team Members
- Click Add Member + in the top-right corner

- On the New Team Member form, fill in the following under Personal Details:
- First Name
- Last Name
- Email address
- Optional: Mobile Number (for SMS notifications)
- Under Company Details, enter the user's Position and Company Name
- Click Create Team Member at the bottom of the form

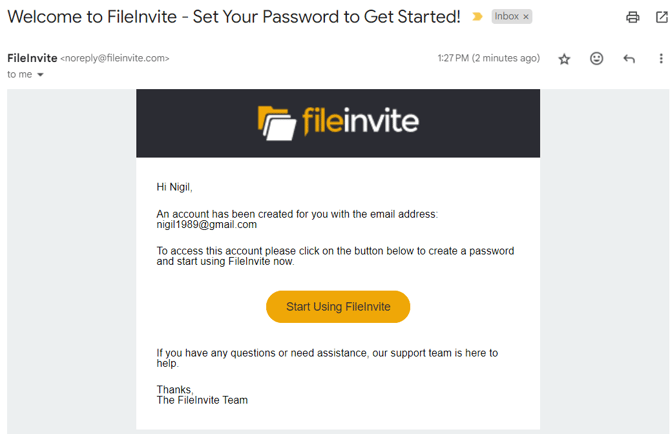
- User Activation
-
- The new user will receive a welcome email to complete account setup. They must follow the instructions to activate their access.
Updating an Existing User
- Click the Settings gear icon in the left navigation panel and select Team Members
- Find the user you want to update and click the three dots (⋮) next to their name
- Select Edit from the dropdown menu — options available are:
- View — view the user's profile
- Edit — update the user's name, email, role, or other details
- Deactivate — deactivate the user's account
- Edit Information or Role
You can update the user’s name, email, or role as needed.

New: Team Management for Watchers
If you’re using the Team as Watchers feature:
-
Ensure users are assigned to the correct teams.
-
Team assignments will affect automatic watcher notifications on Invites.
-
Proper setup ensures the right users stay informed throughout the Invite process.
🎉 Your team members are added and ready to go — time to get those Invites flowing! 🎉